Configuring Ports on FXO/FXS Cards
The FXO/FXS Card is useful for scenarios where a small number of analog phones or other "station" devices (4 or less) and a small number of analog trunks (4 or less) are required.
The basic steps configuration of the FXS and the FXO ports are very similar to configuring analog station ports on the FXS8 and configuring anlaog trunks on the FXS8. However, some addition configuration is required when both types of ports are configured to connect the same UCX. These are highlighted in the text below.
Configuring FXS ports
Create SIP Extensions on the UCX
Each FXS port that will be connected to phones, faxes, or other station-side analog devices requires a SIP extension to be configured on the UCX. The steps to configure SIP Extensions on the UCX software can be found in Adding a SIP Extension. You will need to use the Secret that you create for each SIP extension on the UCX as the Password for each SIP Endpoint configured the steps below.
Configuring the FXS ports on the FXO/FXS gateway
Configure the SIP Endpoints on the FXO/FXS Card
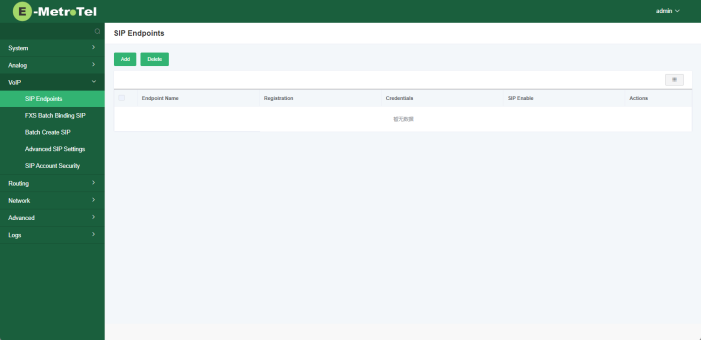
The SIP Endpoints settings are configured in the VoIP/ SIP Endpoints page. The steps to configure SIP Endpoints are as follows:
- Navigate to the VoIP/ SIP Endpoints entry in the menu
- To add a new SIP Endpoint, click Add in the right hand panel
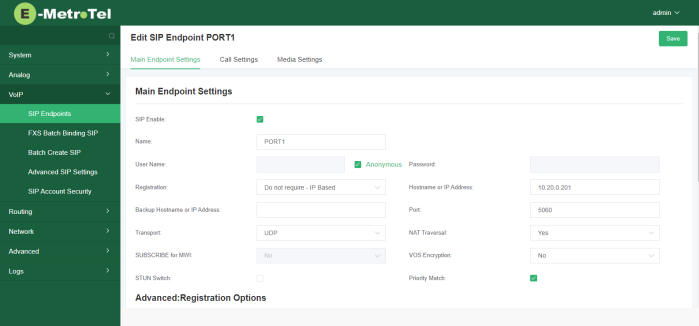
- Enter the Name. User Name (i.e. corresponding SIP extension created on the previous step), and Password.
- Select Client from the Registration drop-down
- Enter the Hostname or IP Address of the UCX
- Enter the corresponding SIP extension (created on the previous step) in the Authentication User
- Click Save
Repeat these steps for each SIP account corresponding to the analog FXS ports you require.
Configure the FXS Channel Settings on the FXO/FXS card
The FXS ports must be mapped to their corresponding SIP Extensions.
- Navigate to the Analog / Channel Settings entry in the menu
- On the right hand panel, click the Edit button associated with the physical FXS port you wish to configure.
- In the General section enter a Name
- From the SIP Account drop-down, select the corresponding SIP extension account you set up in the previous step.
- Click Save
Repeat these steps for each analog FXS port you require.
Verify the Dial Plan Matching table settings
By default, the Dial Pan Matching table will have one entry (_.) that forces all digits collected to be sent directly to the UCX for call processing. The digits will be sent to the UCX when the analog device sends a # key to signify end-of-dialing, or if the interdigit timer expires.
If desired, additional lines can be added to allow specific dial plan entries to send the digits to the UCX after any particular group of digits has been dialed. For example, if the company uses 4 digit extensions all beginning with the numbers 21, create an entry such as _21XX, and calls to extensions will be processed as soon as the 4 digits have been collected. Similarly, an entry of _911 will cause emergency dialing to be sent immediately after the second 1 digit has been dialed. Any other emergency service numbers should also be programmed in this table.
Verify the Extension status
Once you complete the FXS setup up you can verify the operation of each port by reviewing the System / System Status on the FXO/FXS card, and then entering "sip show peers" command on the UCX PBX / PBX Tools / Asterisk CLI page. You can also plug in an analog phone into each of the configured ports and dial *43 to enter the echo test mode on the UCX.
Configuring FXO ports
Configure the UCX
To establish an Analog Trunk requires the UCX to be configured with a SIP trunk, an outbound route, and an inbound route. The FXO/FXS card requires configuring the analog port, a SIP trunk, and the Call Routing Rules that map between the physical port and the SIP trunk so that connections can be made for incoming and outgoing calls.
Create a SIP Trunk on the UCX
- Open the Web-based Configuration Tool and navigate to PBX / PBX Configuration / IP Trunk Assistant
- Click on New Account
- Add a descriptive Account Name, and enter the IP Address of the target FXO8 card.
- Select the E-MetroTel FXO Gateway in the Trunk Provider drop-down menu.
- Add the Outbound Caller ID Number and Name that you want to assign to this trunk. Note, however, that for outbound calls that pass through the FXO to an analog trunk, there is no provision for sending this name "upstream" to the PSTN or any other analog device, so this information is purely for tracking in the UCX records.
- Enter the Host / IP of the FXO/FXS gateway card.
- Click Save.
- Verify that the connection to the card is established by clicking on PBX / PBX Tools and entering the command sip show peers. You should see a Status of OK in the last column of the the entry with the trunk name you just created.
Create an Outbound Route on the UCX
Add an Outbound Route to allow calls to be placed from the UCX to the FXO8 card. The only information that will pass to the PSTN from an FXO port will be the dialed digits.
Create an Inbound Route on the UCX
Add an Inbound Route that will allow calls from the PSTN to connect to the UCX after first passing through the FXO8 card. The incoming Caller ID will be available from the card.
Configuring the FXO ports on the FXO/FXS gateway
Configure the Analog Channel Settings
-
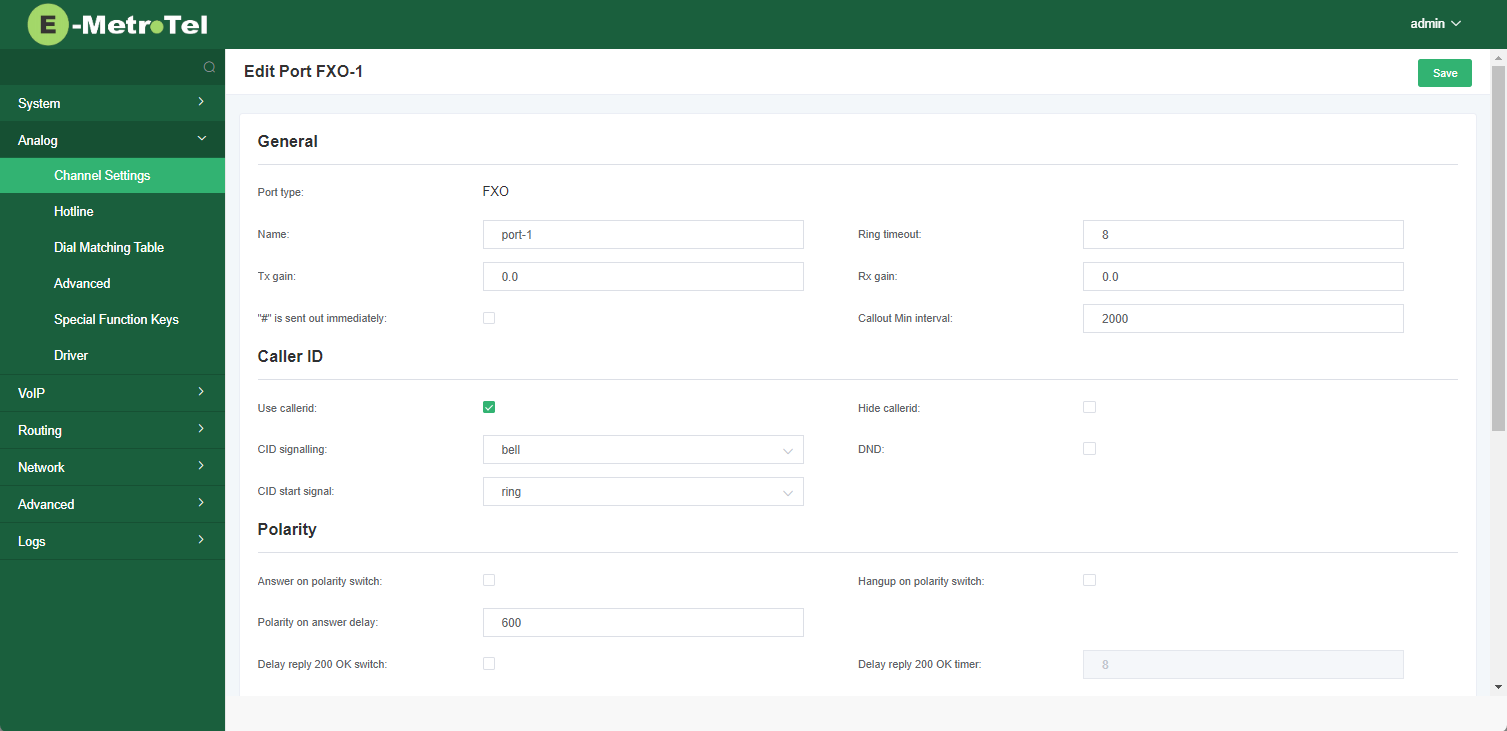
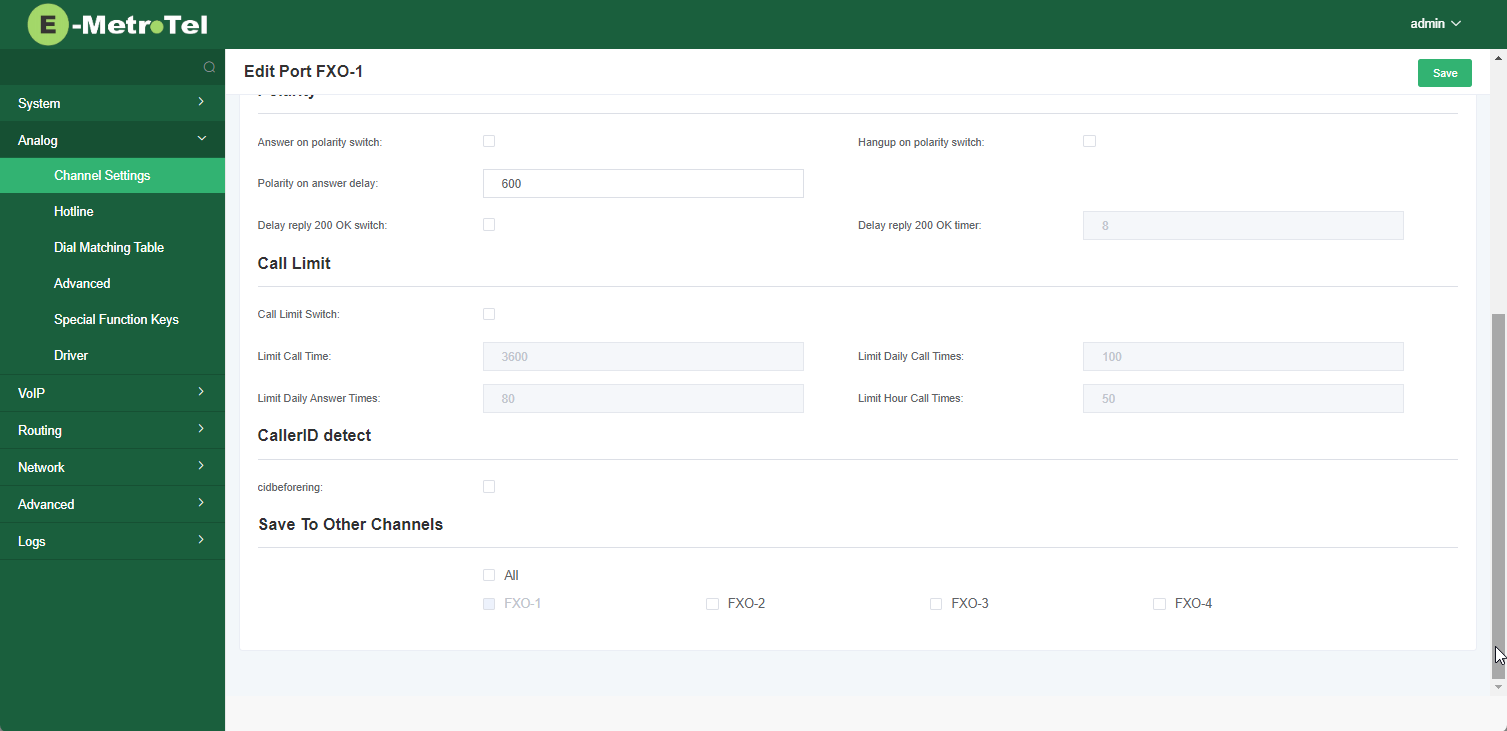
Navigate to Analog / Channel Settings and click Edit on the FXO port associated with the physical port where the PSTN trunk RJ-11 connection is terminated.


- Enter a Name to help identify how the port is configured for future reference. This same screen will be where you can adjust parameters for that particular port such as whether to wait for CallerID info to be sent, whether it requires an initial ring, and TX and RX level adjustments, among others.
- Click Save
Add a SIP Endpoint
-
Navigate to VoIP / SIP Endpoints and click Add to create a new SIP Endpoint
-
In the Name field on the Main Endpoint Settings page, add a descriptive name for the SIP connection to be used from the port on the card to the UCX (eg. Connection2UCXSIPTrunk), and then enter the Hostname or IP Address of the UCX. For the FXO/FXS Combo card you must chek the Prioity Match checkbox if you are also using FXS ports.
-
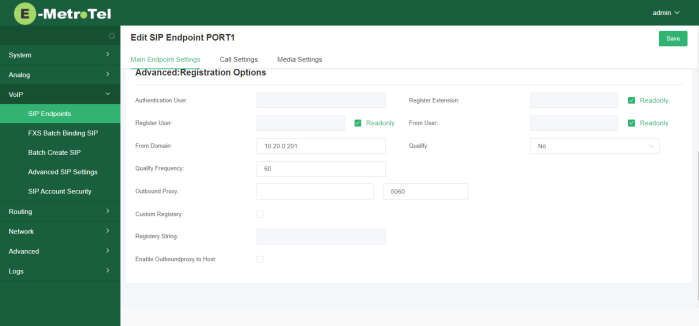
You may wish to scroll down the page and change the Qualify setting from No to Yes.
- Then click Save


Add the Routing Group information
-
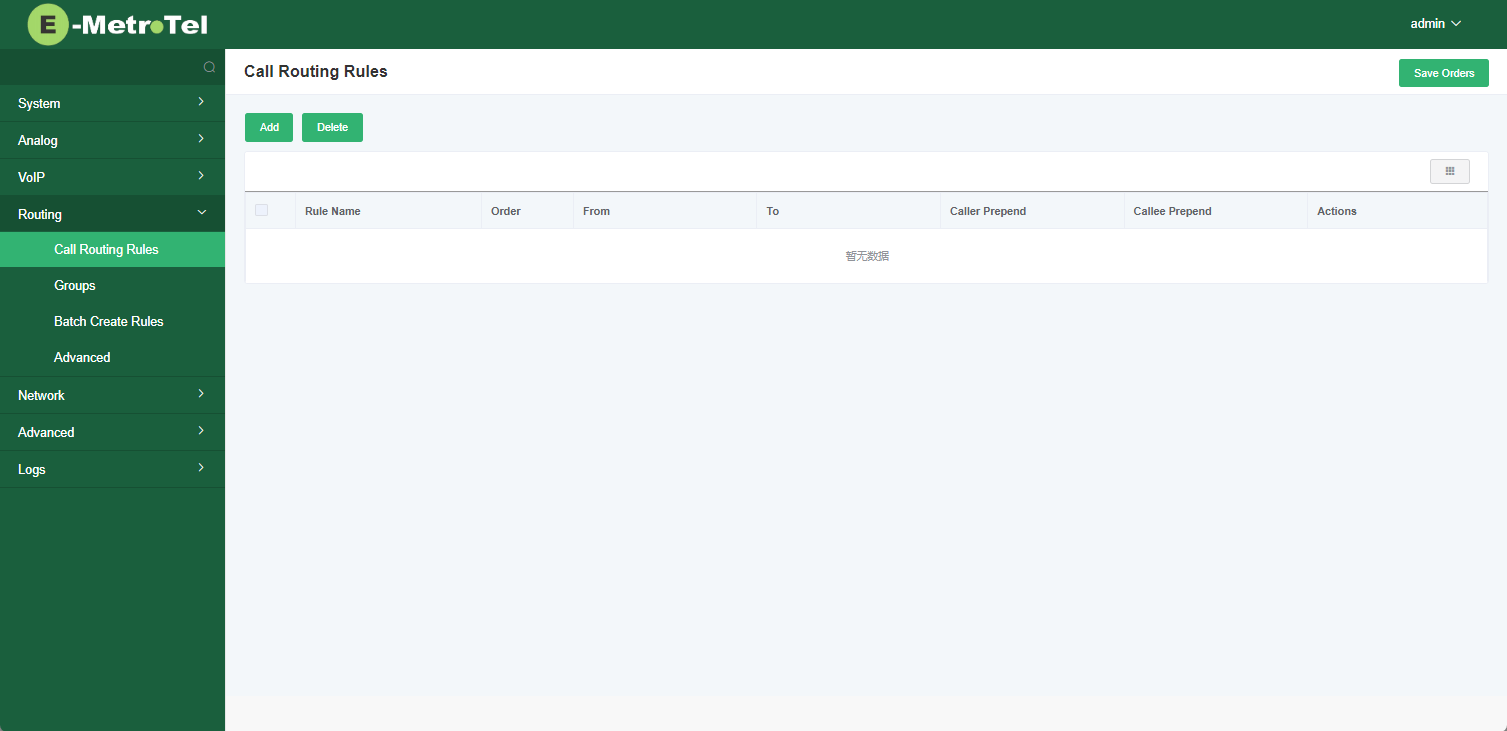
Navigate to the Routing / Groups page and click Add

-
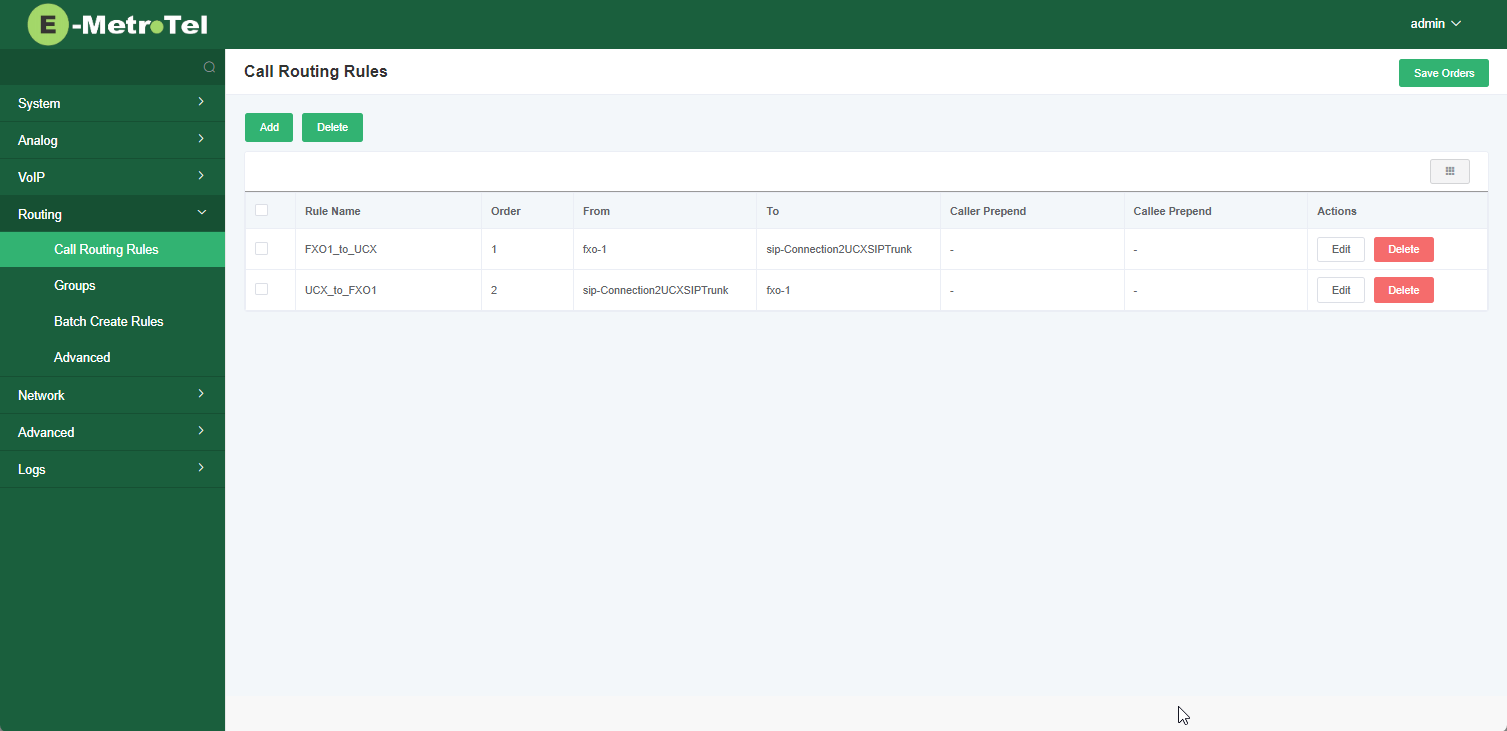
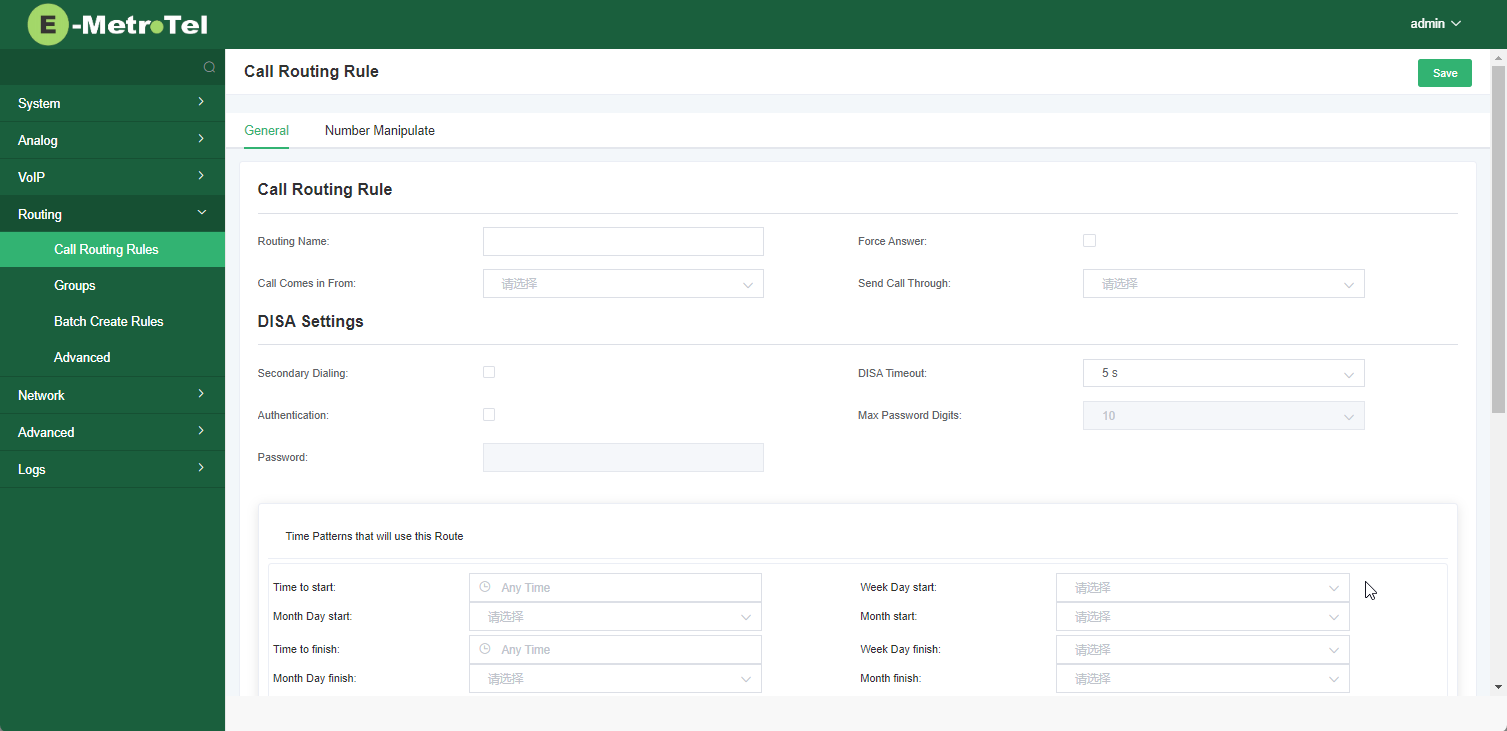
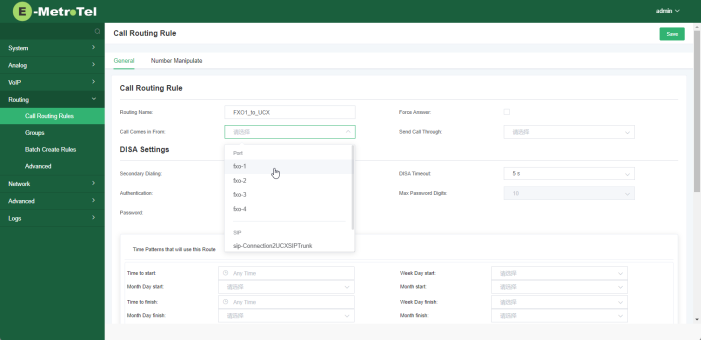
In the Call Routing Rules page, enter a Routing Name (eg. FXO1_to_UCX)

-
Click on the Call Comes in From dropdown, and select the physical RJ-11 port associated with the PSTN analog trunk (eg. fxo-1)
-
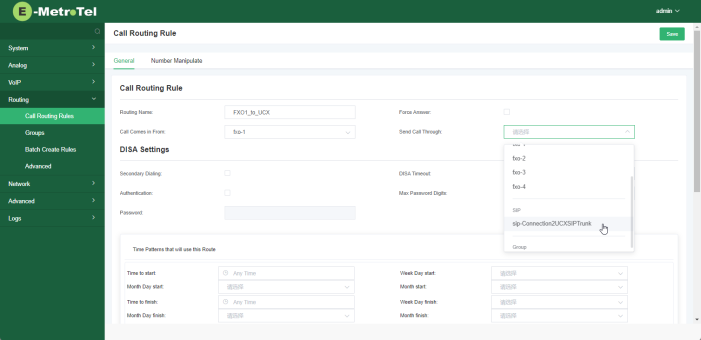
Click on the Send Call Through dropdown and select the name of the SIP Trunk you created for this connection to the UCX (eg. Connection2UCXSIPTrunk)
-
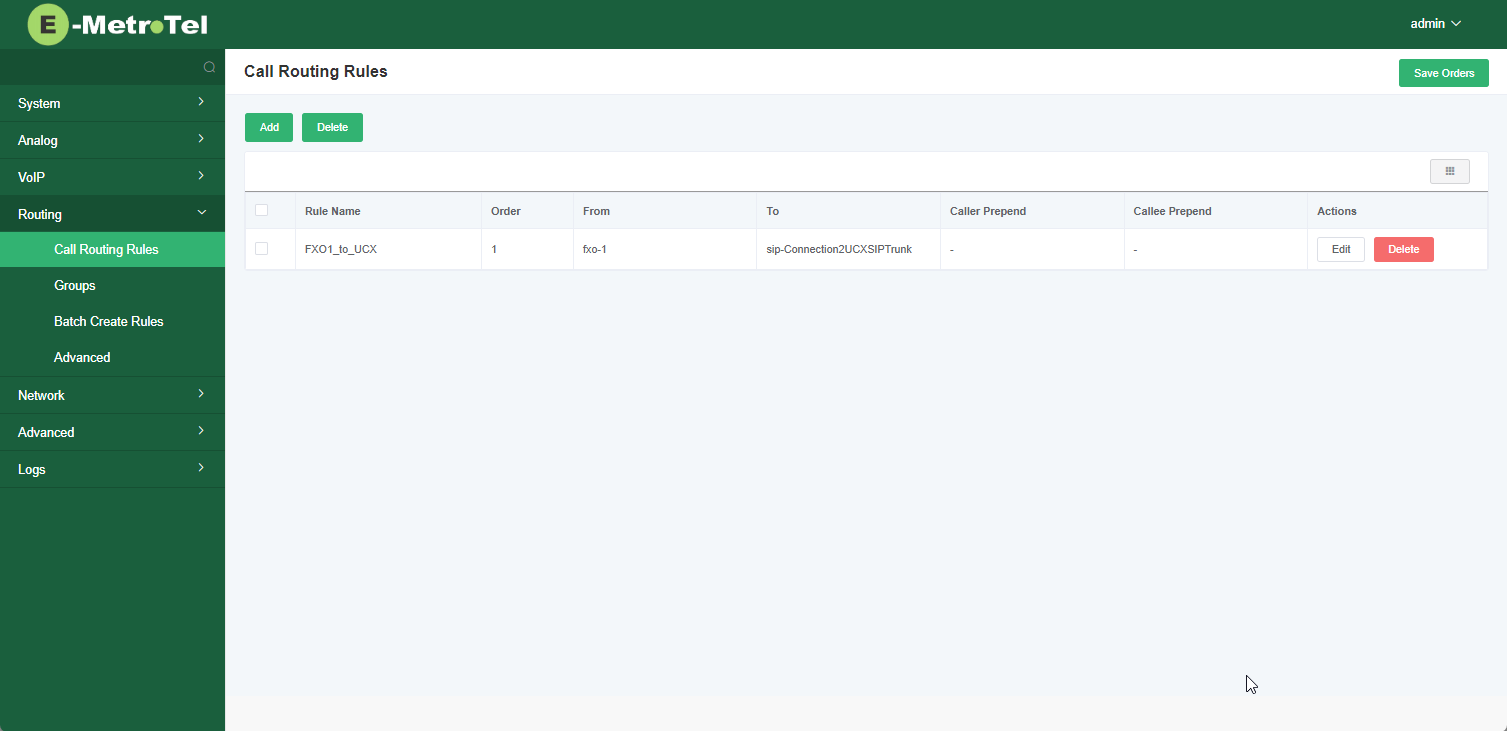
Click on Save and you will see the first rule you created
-
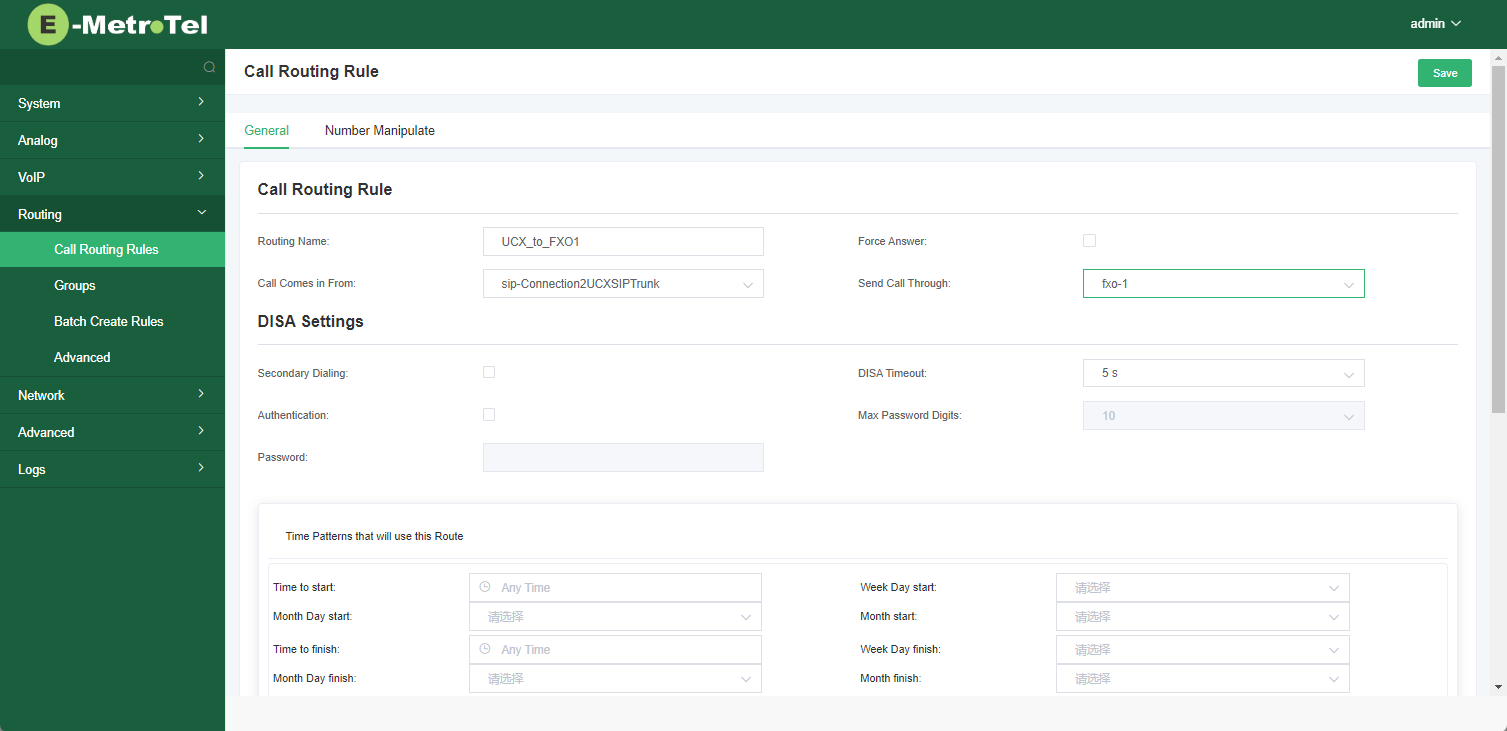
Click on Add to create a second rule for mapping the opposite direction of the call flow with an appropriate name (eg. UCX_to_FXO1), and reversing the order of selection of the FXO port and the SIP Trunk
-
Click Save and you will now see the two connection mappings