

Self-Signed SSL Certificate
Introduction
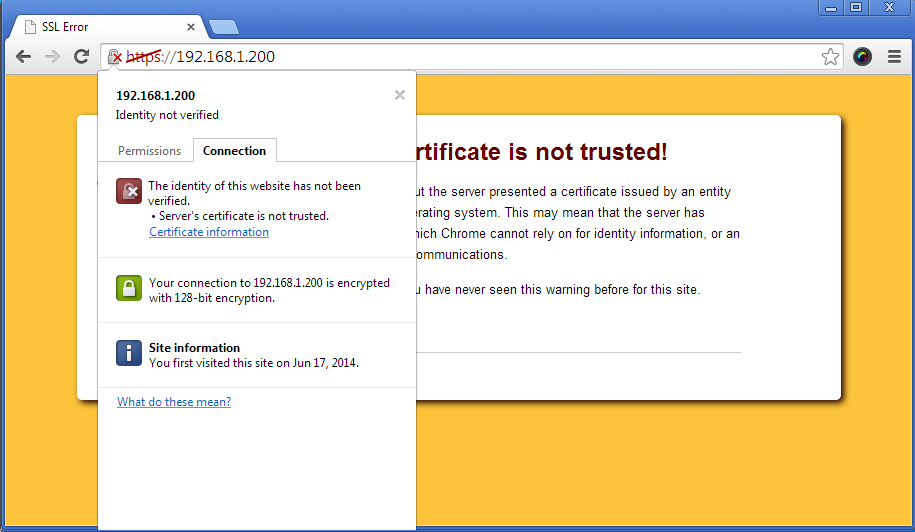
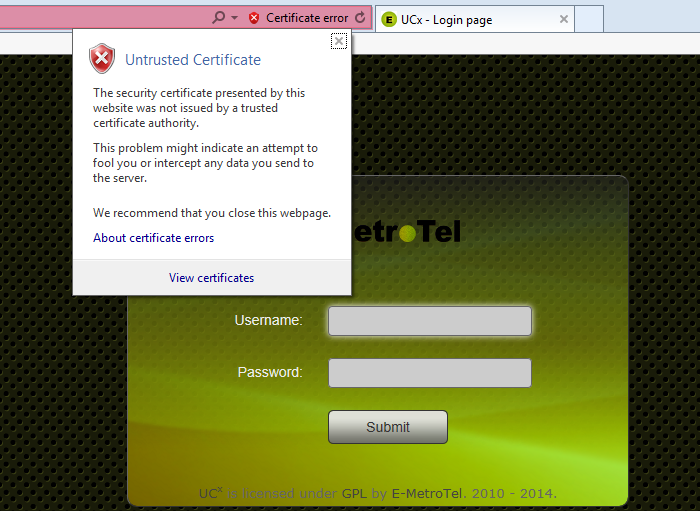
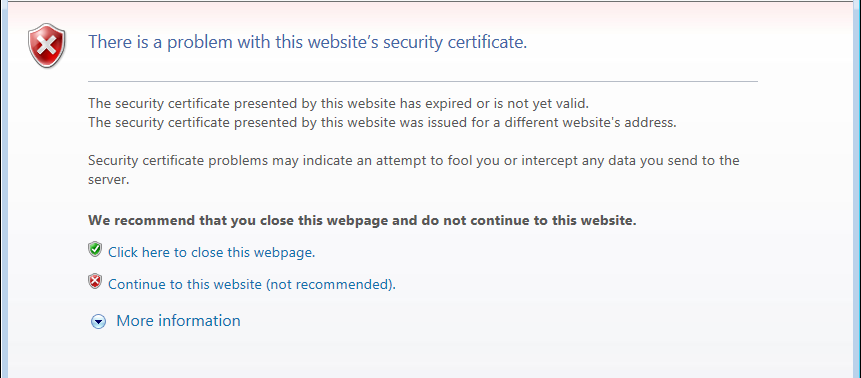
When you connect to the UCX Web-based Configuration Utility, you may see the following privacy error:

To prevent seeing this error, you can create and configure a trusted Self-Signed SSL Certificate for the UCX Server.
Step One: Generate SSL Certificate
To generate a self-signed SSL certificate perform the following steps:
- Open the UCX Web-based Configuration Utility
- From the Security tab, select Certificates
- From the left side column, select Self-signed Certificate
-
Press the Generate button to create the certificate


- Go to the System Dashboard tab and restart the Web Server process
- Close the browser or tab


Step Two: Export Certificate
To export the certificate created in Step One to your PC, follow the steps below depending on your browser type.
Google Chrome
- From your browser, retype the hostname or ip address to access the UCX Web-based Configuration Utility
-
Click on the "X lock" located on the left side of the address bar, then click on Certificate information

- Go to Certificate section below and continue with the instructions
Internet Explorer
- From your browser, retype the hostname or ip address to access the UCX Web-based Configuration Utility
- Go to the top right corner of the browser and select Tools
- From the list, select Internet Options
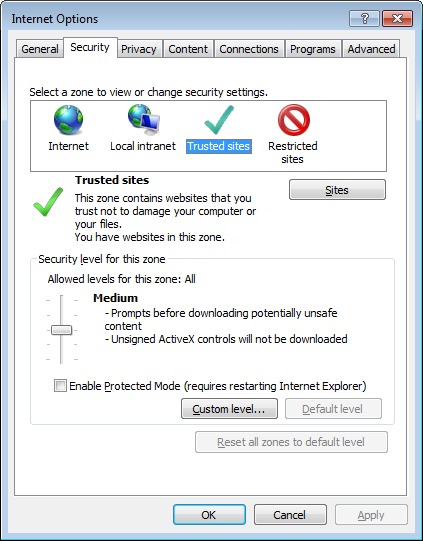
- From the Internet Options window, select Security tab
-
Select Trusted Sites and change the Security level to Medium
-
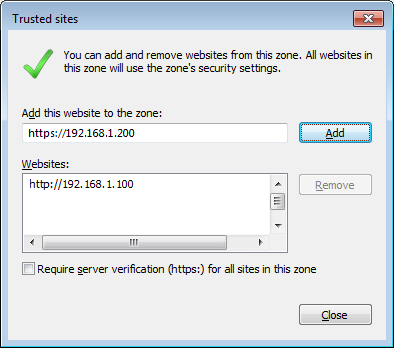
Click on the Sites button and Add UCX website to the list of trusted sites
- Close the Trusted sites window and press OK to close the Internet Options window
-
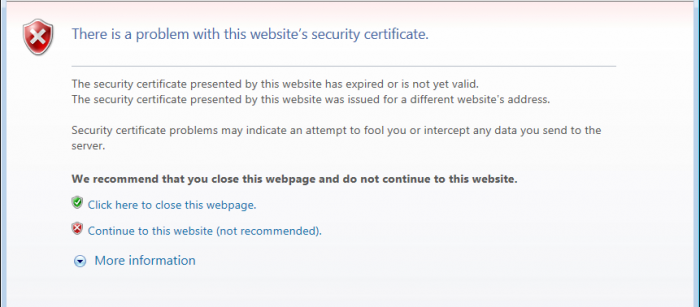
Select the link to Continue to this website
-
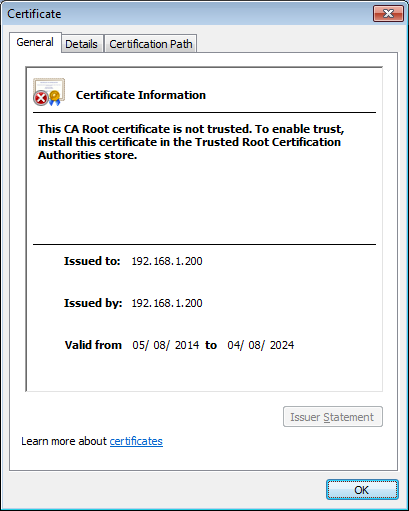
Click on the "X shield" located on the right side of address bar, then click on View certificates
- Go to Certificate section below and continue with the instructions
Certificate
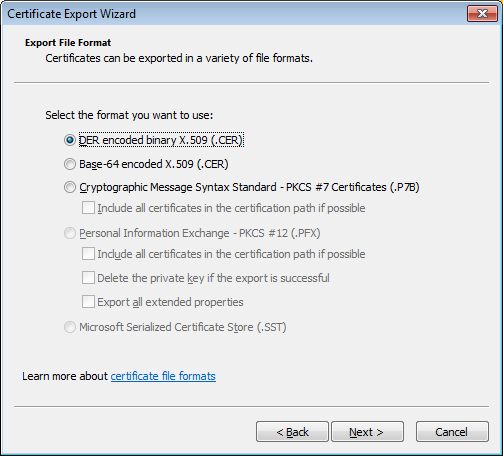
From the Certificate page, go the the Details tab and click on Copy to File.
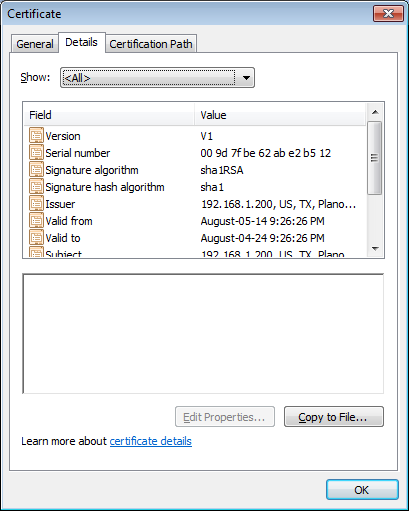
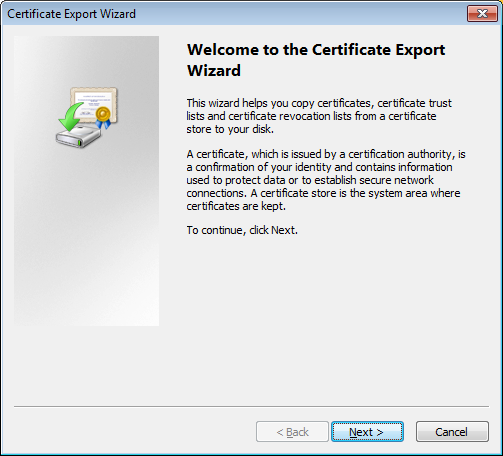
Follow the wizard to export the certificate to your PC
Step Three: Import Certificate
To enable trust in your Internet browser, follow the steps in this section (based on your browser type) to import the certificate from your PC to the Trusted Root Certification Authorities store.
After completing these steps, relaunch the browser before accessing the UCX Web-based Configuration Utility.
Google Chrome
- Go to the top right corner of the browser and select the Chrome menu
- From the list, select Settings
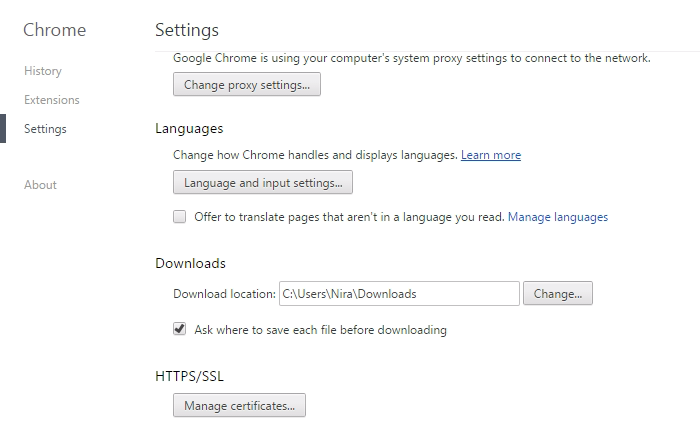
- On the Settings page, scroll down to the bottom and click on Show advanced settings
-
Scroll down to HTTPS/SSL section and click on Manage certificates button
-
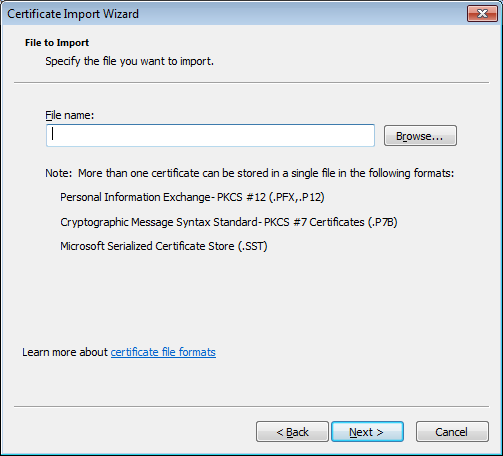
From the Certificates window, select Trusted Root Certification Authorities tab and click on the Import button
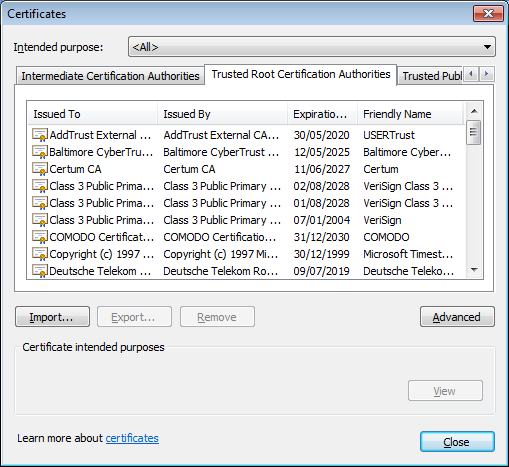
-
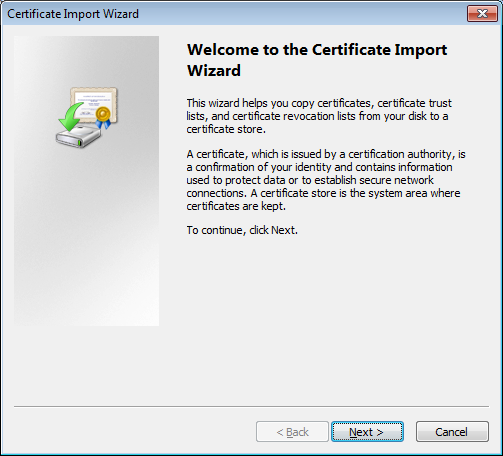
Follow the instructions from the Wizard to import the certificate
Internet Explorer
- Go to the top right corner of the browser and select Tools
- From the list, select Internet Options
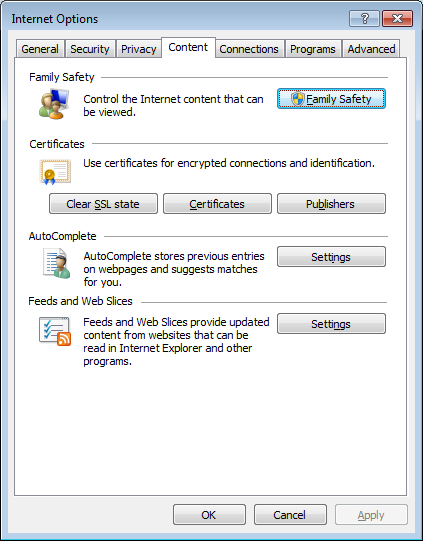
- From the Internet Options window, select Content tab
-
Click on Certificates button
-
From the Certificates window, select Trusted Root Certification Authorities tab and click on the Import button
-
Follow the instructions from the Wizard to import the certificate