The UCX system can be used to provide DHCP services on your network. The UCX Web-based Configuration Utility allows you to set the following configurable properties:
Typically, UCX systems are deployed on company networks that have a router that already provides DHCP services. Due to that, the default status of the DHCP server on UCX systems is set to Inactive and no settings have been configured on any of the server interfaces. If you plan to enable the DHCP server on your UCX system, please ensure that there is no other DHCP server on the network or that ranges of IP addresses managed by these servers do not overlap. Note howver, that even if multiple DHCP servers on the same network have non-overlapping ranges, it is difficult to manage which devices will receive their IP address assignment from the different servers.

To configure the DHCP server on your UCX system, perform the following steps:
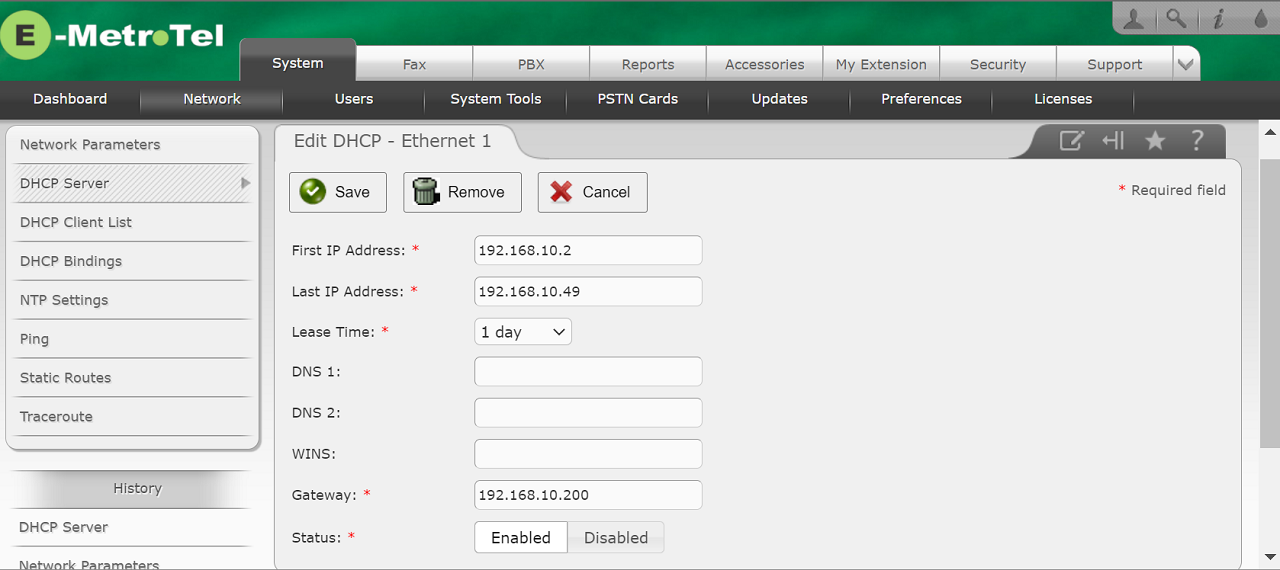
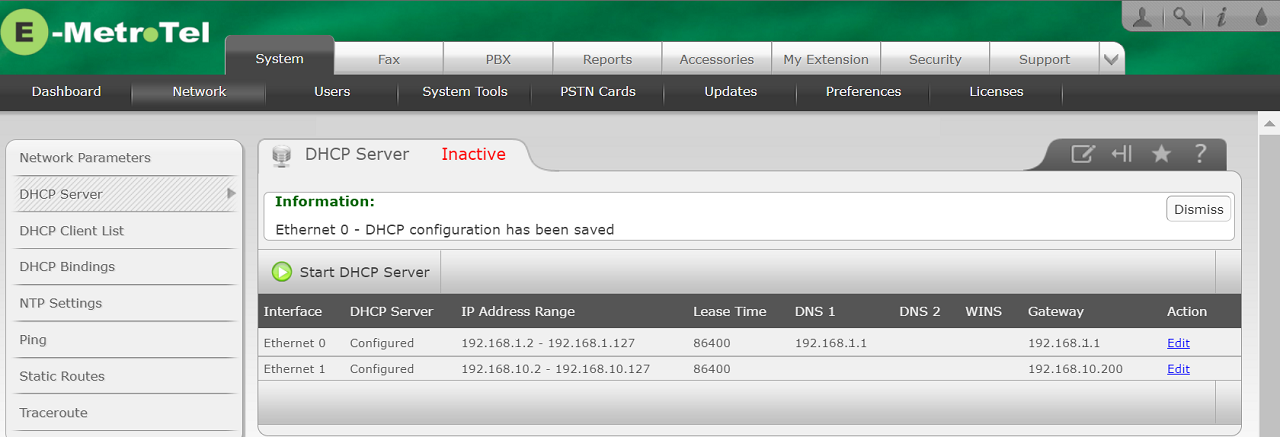
The settings for that Ethernet interface will be updated to indicate the interface has been configured.

If you have not already done so, you will need to activate the DHCP Server by clicking on Start DHCP Server button. At this point, you will see that the DHCP Service is Active and can determine on which Ethernet interfaces the service is active.

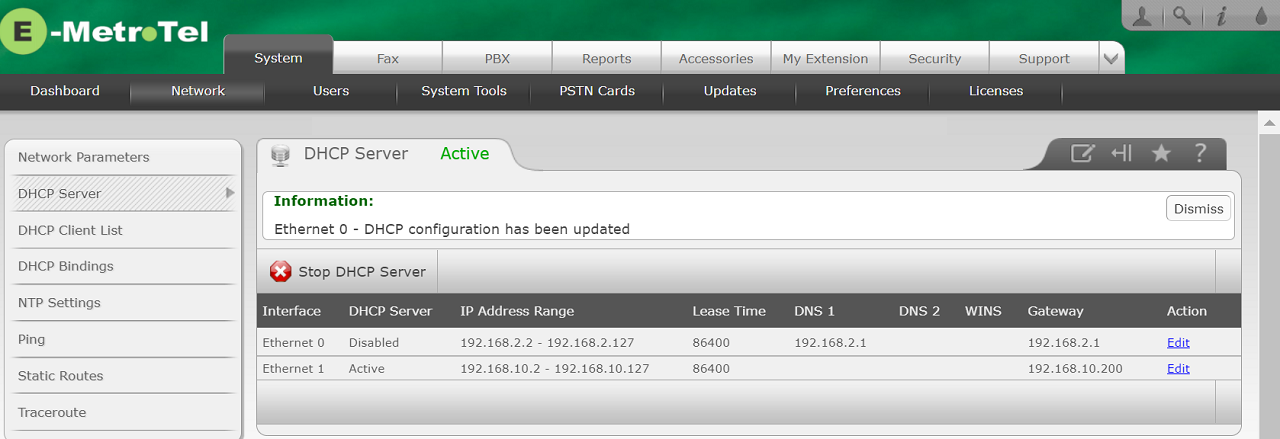
Separate ranges can be configured on each of the available Ethernet interfaces.
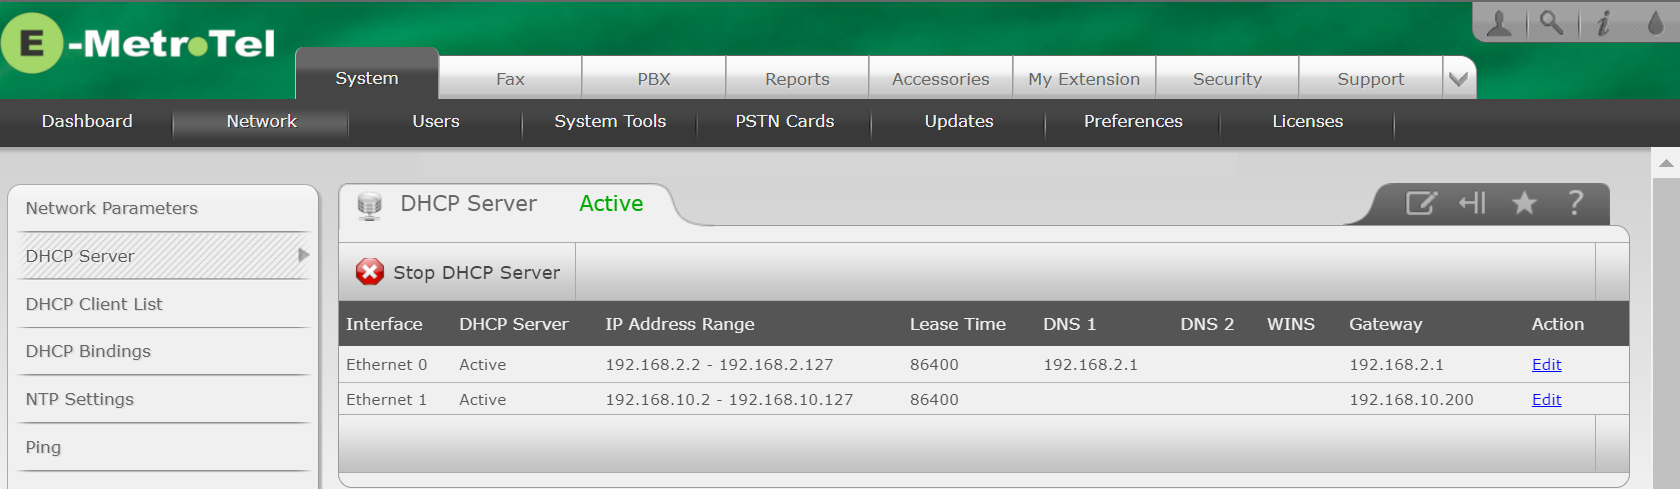
You can stop the DHCP Server, making the DHCP Server Inactive for all Ethernet Interfaces by clicking on Stop DHCP Server.
Or you may stop the DHCP Server from functioning on a specific Ethernet interface while remaining active and running on other Ethernet interfaces by clciking Edit on the the desired line and selecting Status as Disabled and then clicking Save.