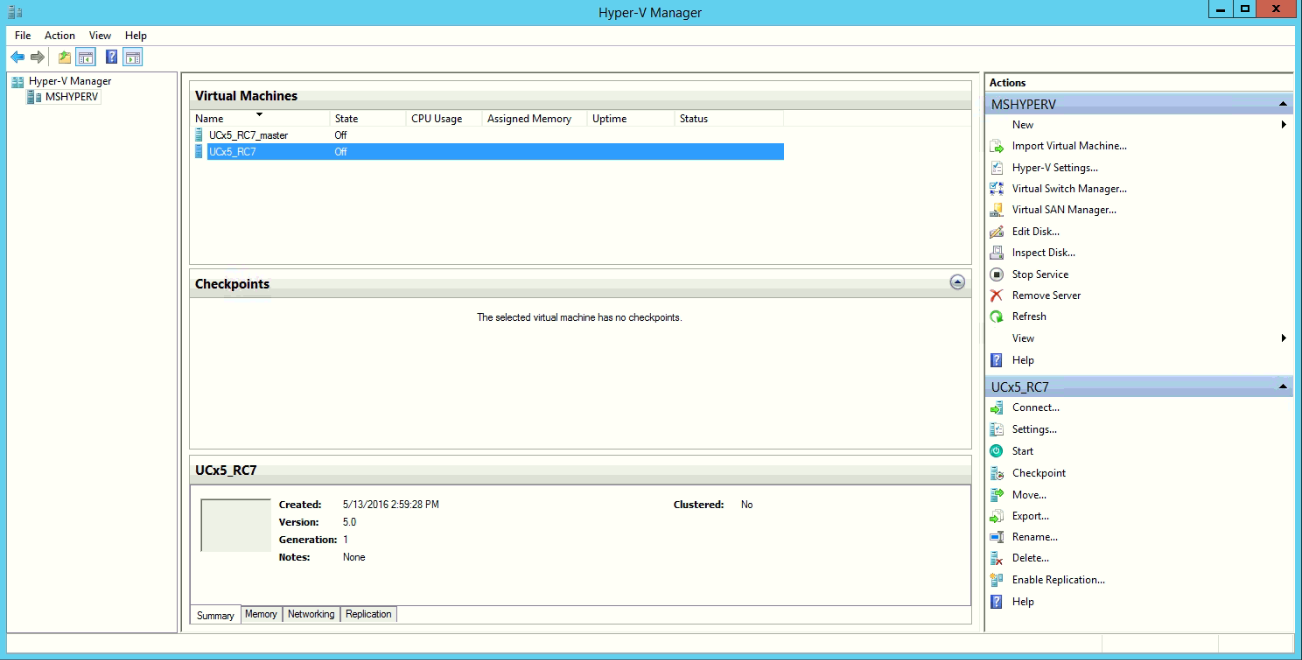
Login to the Hyper-V Management Console.
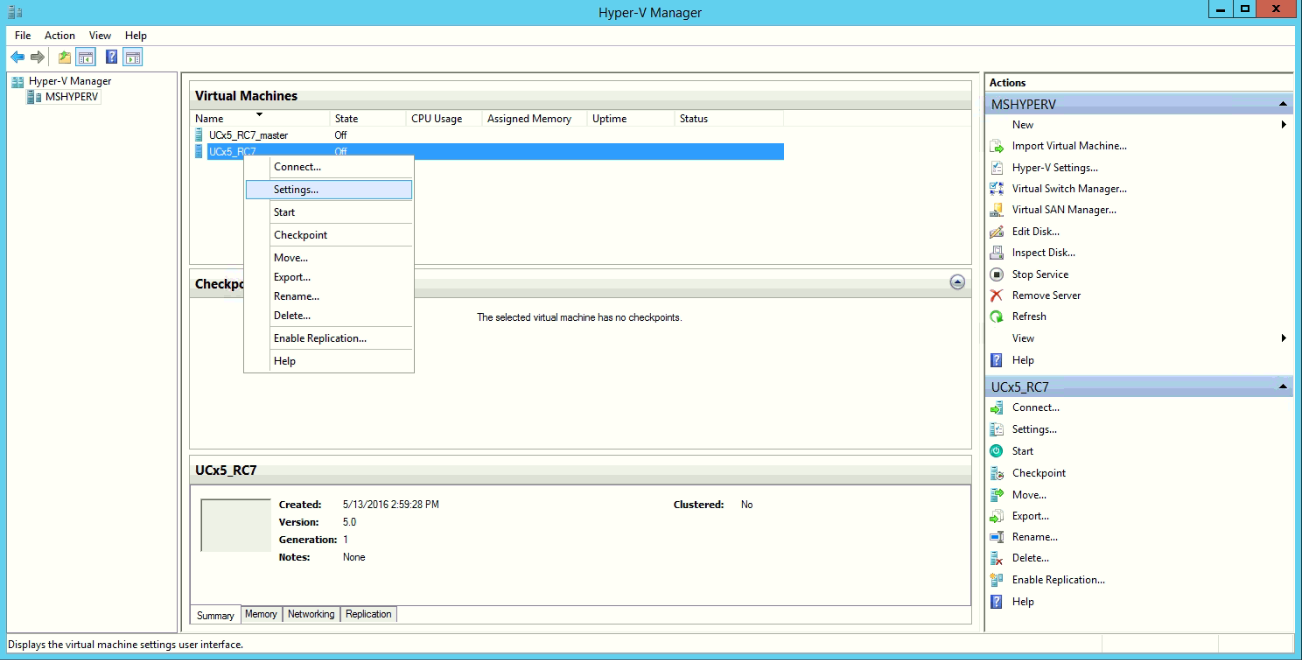
Right mouse click on the server to be modified and select Settings.
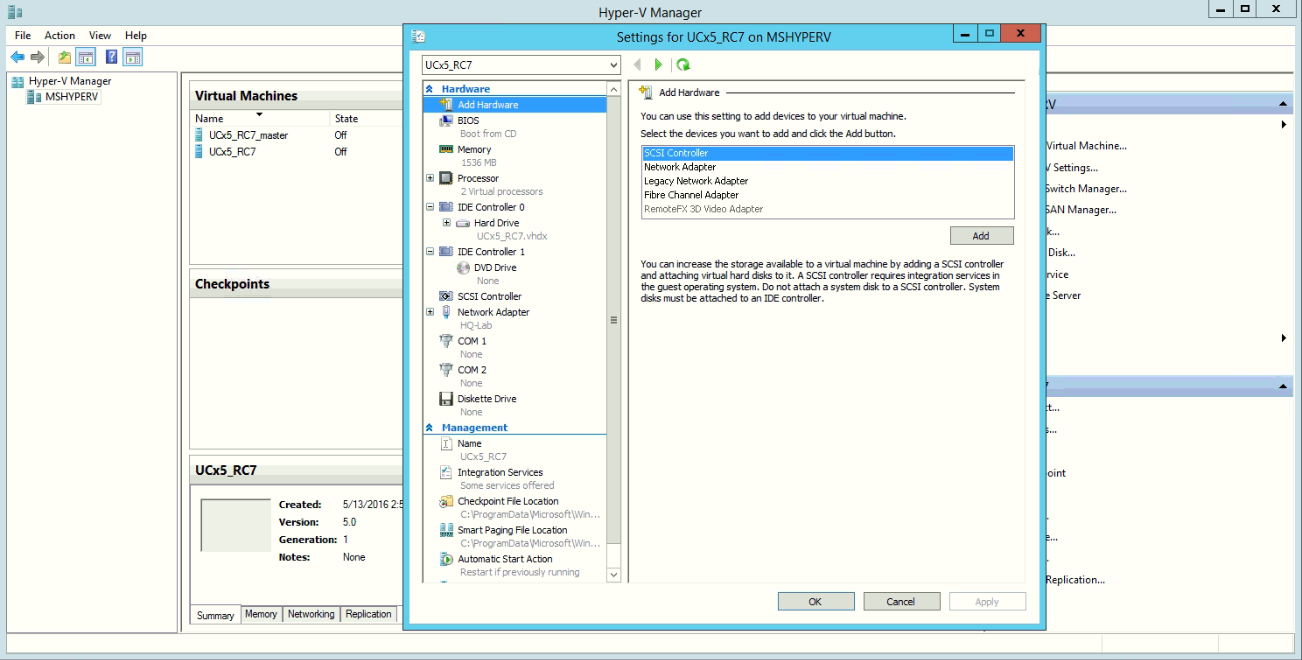
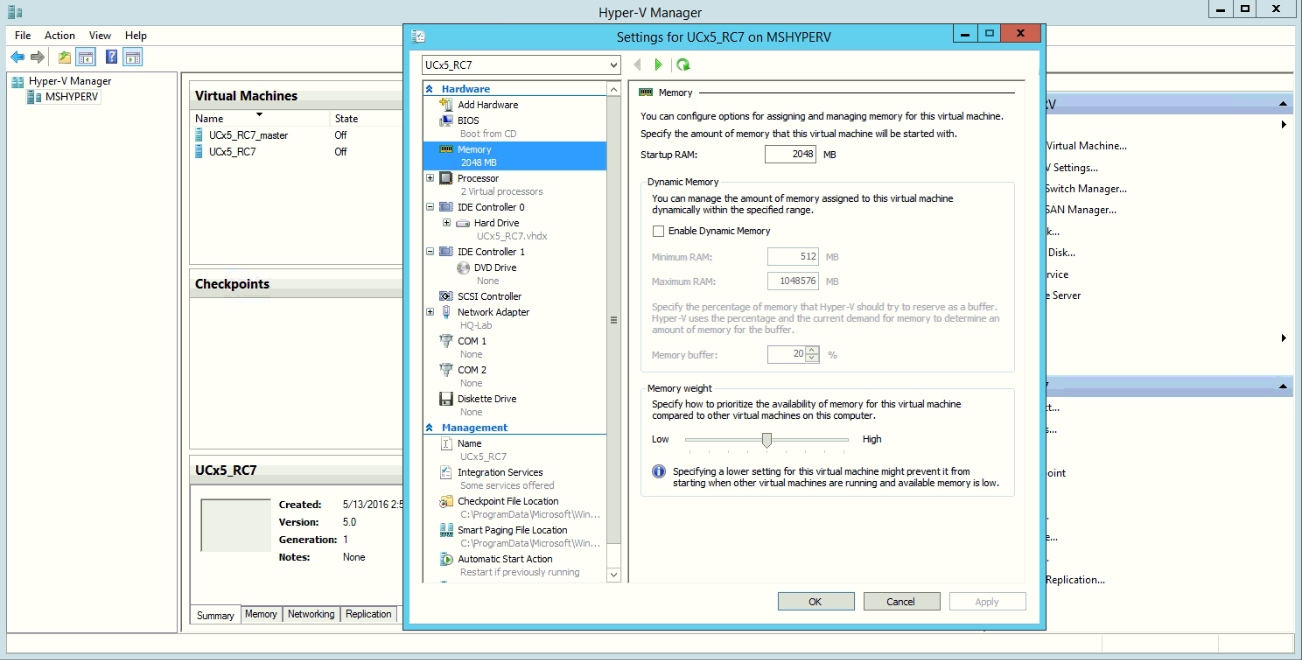
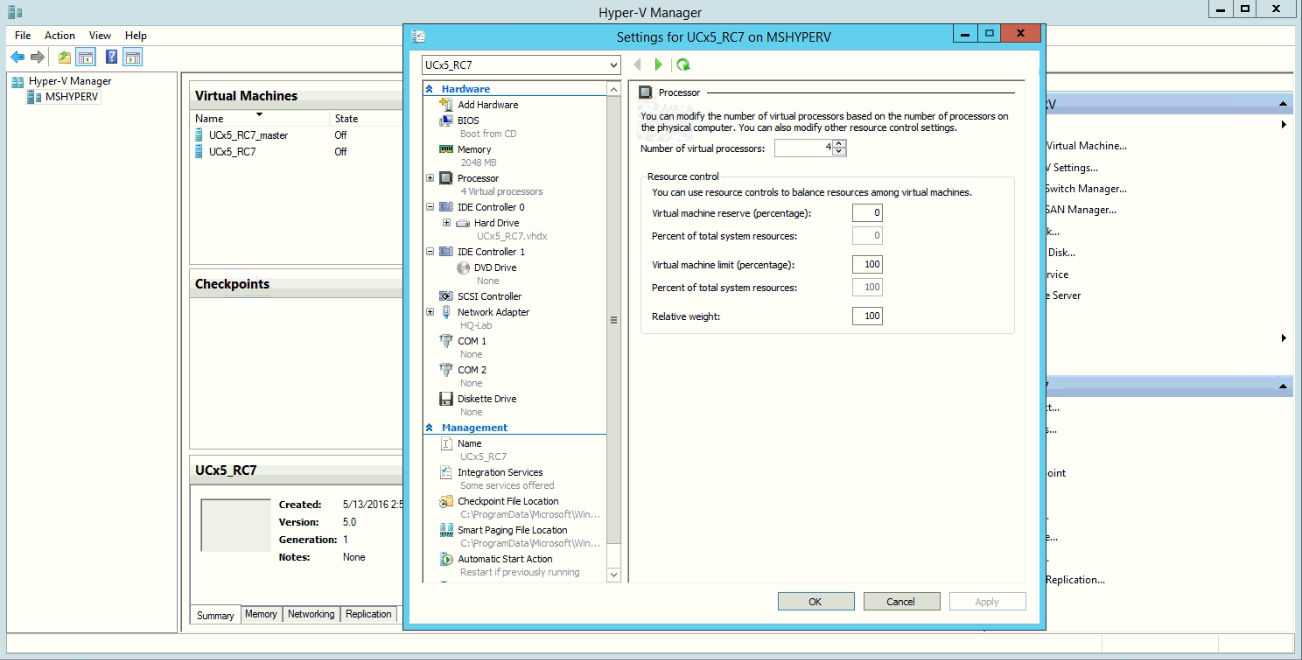
This dialogue will allow you to make changes to your UCX Virtual Server.
To adjust the memory.
To increase the number of CPU's.
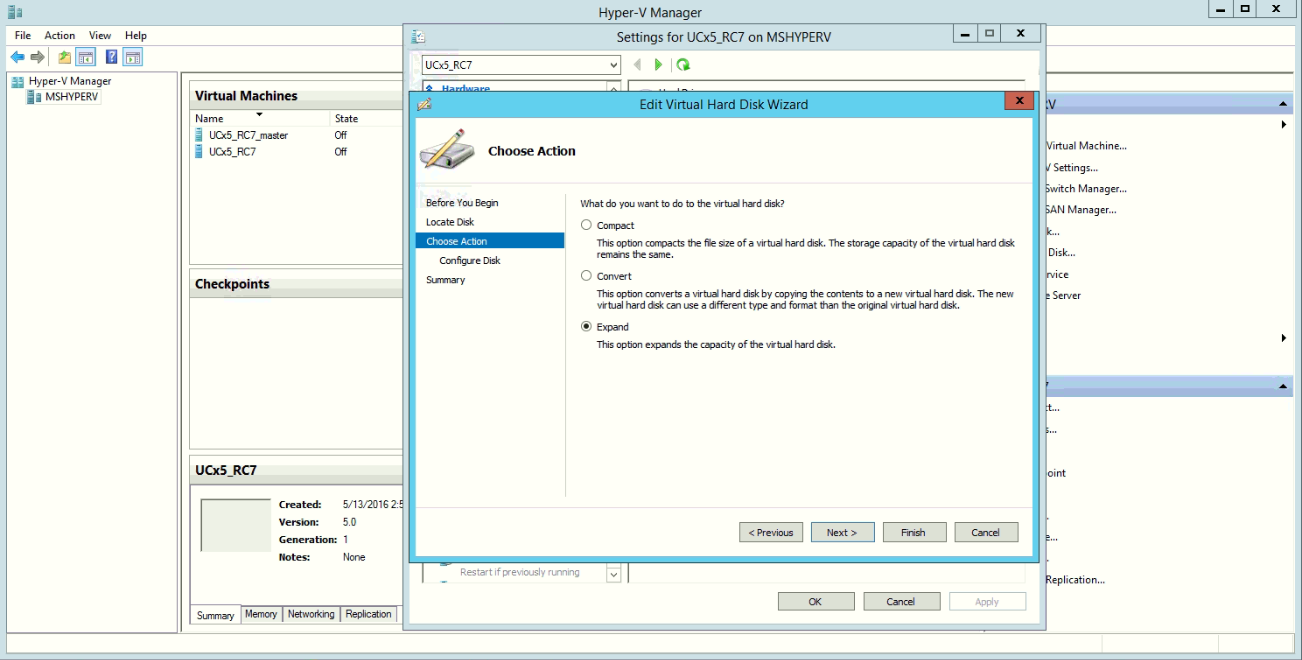
To Increase the space available to the /var partition which is used for storing Voicemails and Call Recordings, Press the Edit button.

Please read and observe the warnings, then press the Next button.

Select Expand as the action to perform.
Set the New size.

Review your modifications. Then press the Finish button.

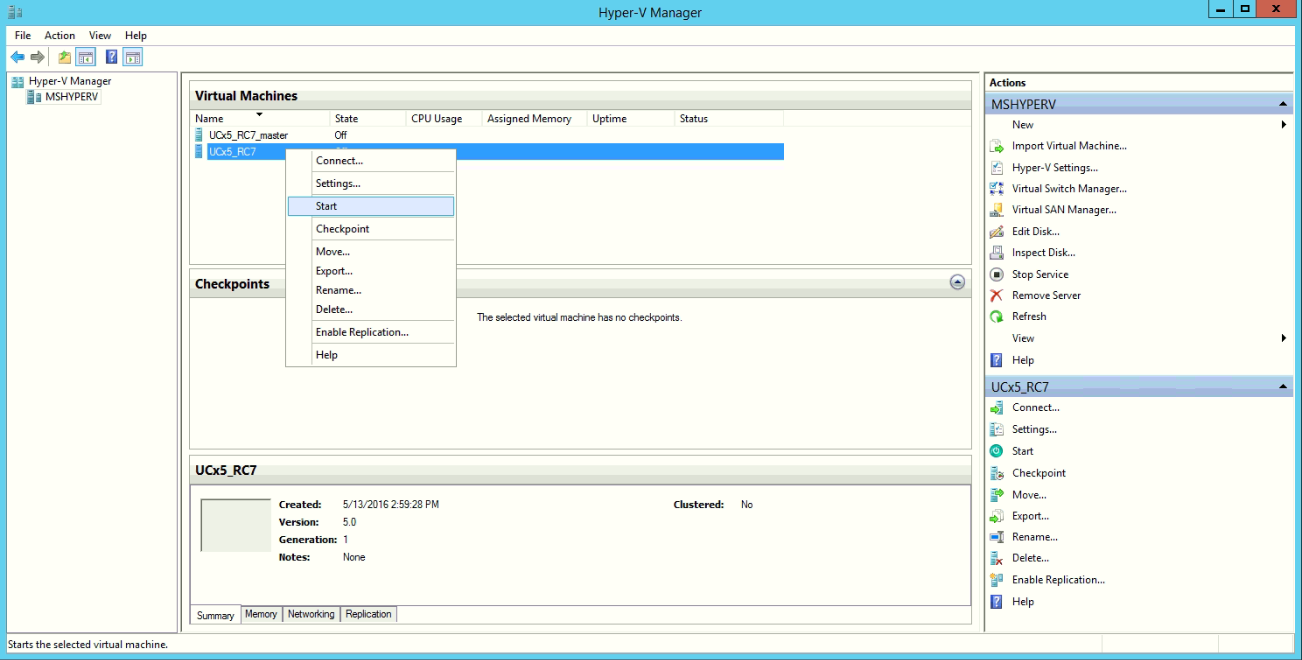
To complete the re-sizing of the disk drive you must power on the UCX Server. Right mouse click on the Server and select Start.
To connect to the console, right mouse click on the Server and select Connect.

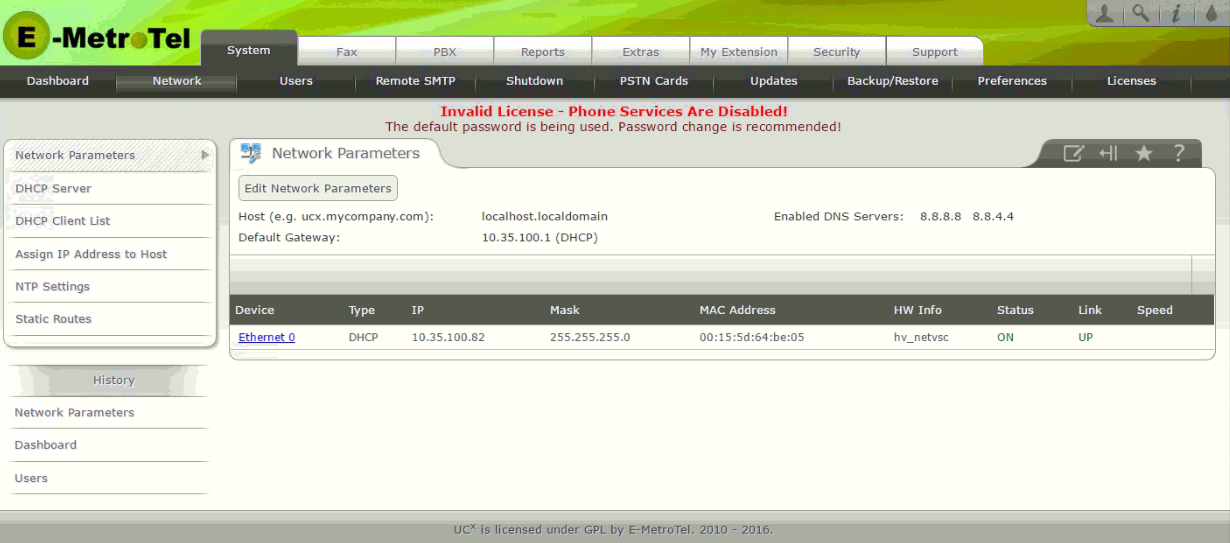
Use the IP address displayed on the console to login to the UCX Sever instance and navigate to the Dashboard.
Note that the size label of the /var partition in the Hard Drive applet on the dashboard is now a Blue hyperlink.

When you select it, a dialogue box is displayed describing the increase in drive space that will occur, a warning that the system will be rebooted and asking for confirmation to continue with this process.
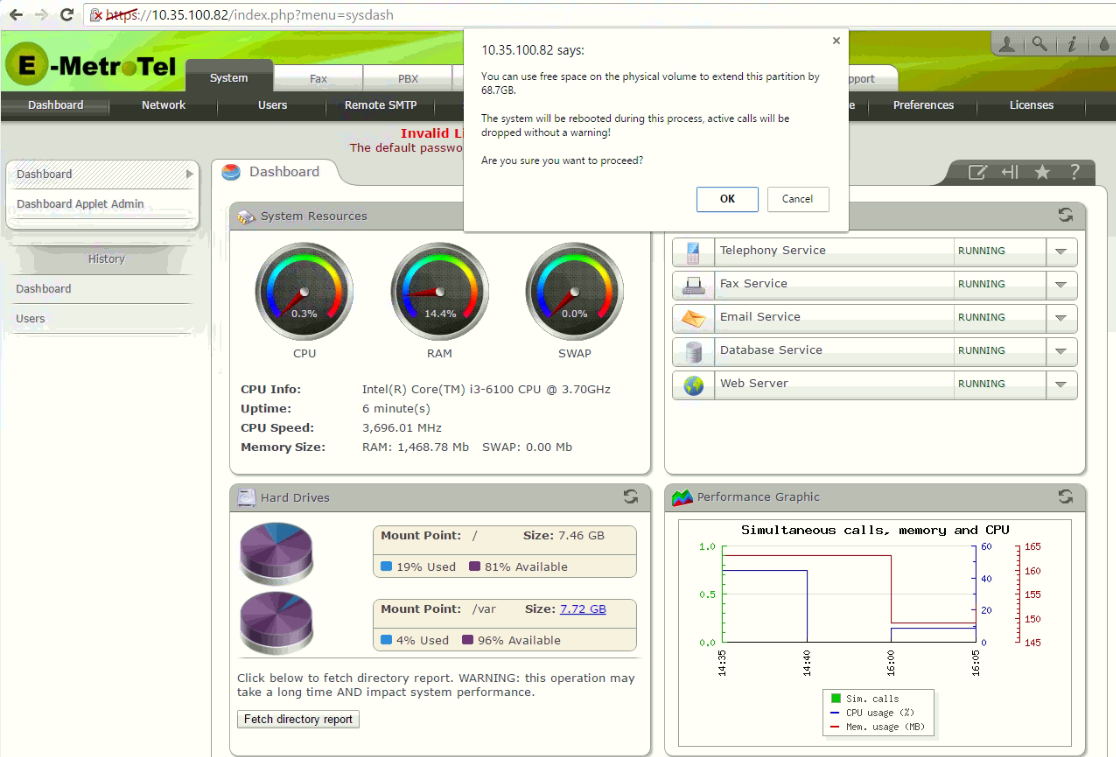
Press the OK button. Wait 30 seconds and then open the console window as described in Step 12 above. Please allow the resize2fs command to complete before logging into the system GUI.

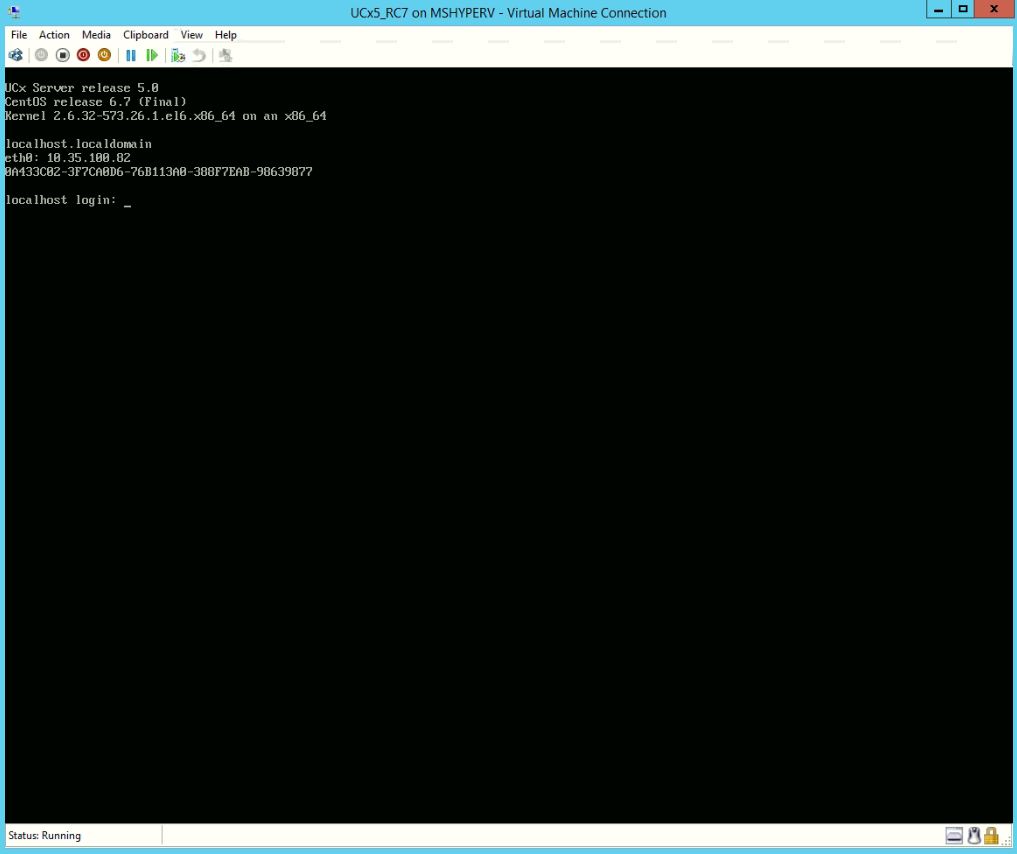
One final step is to record the MAC address assigned to eth0. You will need this information to move the UCX server instance from host to host within the Hyper-V environment.