

You are here
Documentation
- InfinityOne Omnichannel (Beta)
- InfinityOne
- Infinity Video Server (Beta)
- InfinityOne Work at Home
- Galaxy Mini
- Galaxy Mini - Table of Contents
- Galaxy Mini - Overview
- Galaxy Mini - Server Hardware
- Galaxy Mini - Supported Phones and Devices
- Galaxy Mini - Front and Rear Panel Interfaces
- Galaxy Mini - FXO/FXS Module Installation
- Galaxy Mini - Connecting the Server to the Network
- Galaxy Mini - Activating and Licensing
- Galaxy Expand
- Galaxy Expand - Table of Contents
- Galaxy Expand - Platform and Hardware Overview
- Galaxy Expand - Module Installation
- Galaxy Expand - Initial Configuration
- Galaxy Expand - Reference Architecture
- Galaxy Expand - Common Configuration
- Galaxy Expand - Standalone UCX Server Configuration
- Galaxy Expand - High Availability UCX Configuration
- Galaxy Expand - Local Gateway (Expansion Chassis) Configuration
- Galaxy Expand - Remote Gateway Configuration
- Galaxy Expand - Survivable Remote Gateway Configuration
- Galaxy Express
- Galaxy Modular Hardware
- Galaxy Analog Cards
- Getting Started with Galaxy Analog Cards
- Galaxy Analog Gateways - IAD Firmware
- Galaxy Analog Cards - Original Firmware
- Galaxy PRI-1 Card
- Galaxy Analog Cards
- Servers and Gateways
- Introduction
- Planning
- Quick Start
- UCX Virtual Machine
- UCX Server
- UCX Web-based Configuration Utility
- System
- Fax
- PBX
- Reports
- Accessories
- My Extension
- Security
- Support
- Survivable Remote Gateway (SRG)
- High Availability (HARC)
- UCX Digital Station Module (DSM16)
- UCX M1/CS1000 Media Gateway
- Digital Gateway
- External Gateways and Devices
- SIP PSTN Trunks
- SIP Trunks
- How-To Guides
- UCX Applications
- UCX Features
- Answer DN Behavior
- Background Music
- Busy Lamp Field (BLF)
- Global BLF key label change
- Parking Lot Monitoring Solutions
- Call Transfer and Recall
- Call Monitoring
- Call Recording Options
- Dial System Fax
- Dictation Service
- Distinctive ring tones
- Fax to Email
- Group Pickup
- Hotline UCX Configuration
- Hotdesking
- Language prompts
- Long Tones
- Ring Again (Call back)
- Shared Call Appearances
- Set Based Configuration
- UCX MADN Emulation Solutions
- Unified Messaging for M1/CS1000 Users
- User Portal
- Voicemail and VmX Locater
- Voicemail Escalation
- Voicemail Message Indicator
- ZapBarge
- Telephones
- Installation Guides
- Product Specifications
- General Information
- Product Bulletins
- Product Notices
- InfinityOne Package Update Required
- UCX 6.0 End-of-Support
- UCX 7.0 and InfinityOne 4.0 General Availability
- VPN Security Update Required
- Email Relay Using Gmail Account Fails Due to Bad Credentials
- InfinityOne Release 2.x End-of-Life
- InfinityOne Android App General Availabililty
- E-MetroTel not affected by Log4j vulnerability
- Web-based GUI Security Enhancements
- User Portal Security Update
- Simplified UCX Configuration for Remote InfinityOne Softphones
- InfinityOne Release 3.0 Server General Availability
- Availability of Connection Sharing
- Availability of Automated Cleanup
- Availability of IP Block List Feature
- InfinityOne Release 2.0 Availability
- Digital Station Module (DSM16) Availability
- UCX Software Updates
- Quotations and Ordering
- Nortel Legacy
- Support and Troubleshooting
- Partner Onboarding
- E-MetroTel Business Practices
- Recurring Services Payment Policy
- Product Licensing
- Extension Provisioning Services
- Subscription Services
- E-MetroTel SIP Trunk E911 Registration
- Reseller Responsibilities
- Software Subscription and Warranty Transfer Request
- Return Material Authorization (RMA) Policy
- Acceptable Use Policy
- E-MetroTel Beta Trial Policy
- E-MetroTel Training Expectations
- 9-1-1 Services Agreement (Canada)
- References
Shaw SIP Trunk
Shaw SIP Trunk Setup Information
Build the SIP Trunk using IP Trunk Assistant
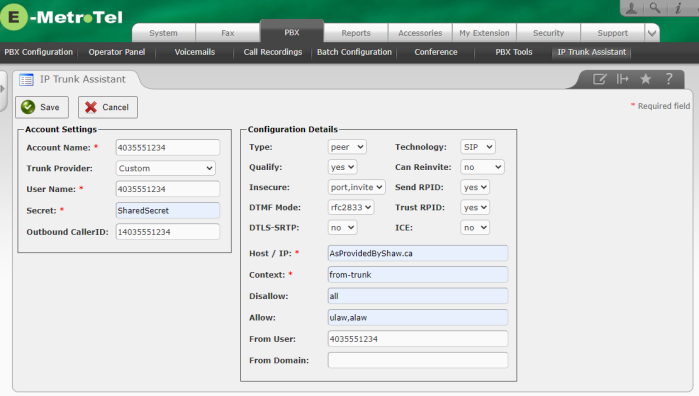
Shaw SIP Trunks have been successfully implemented using the following IP Trunk Assistant setup:
-
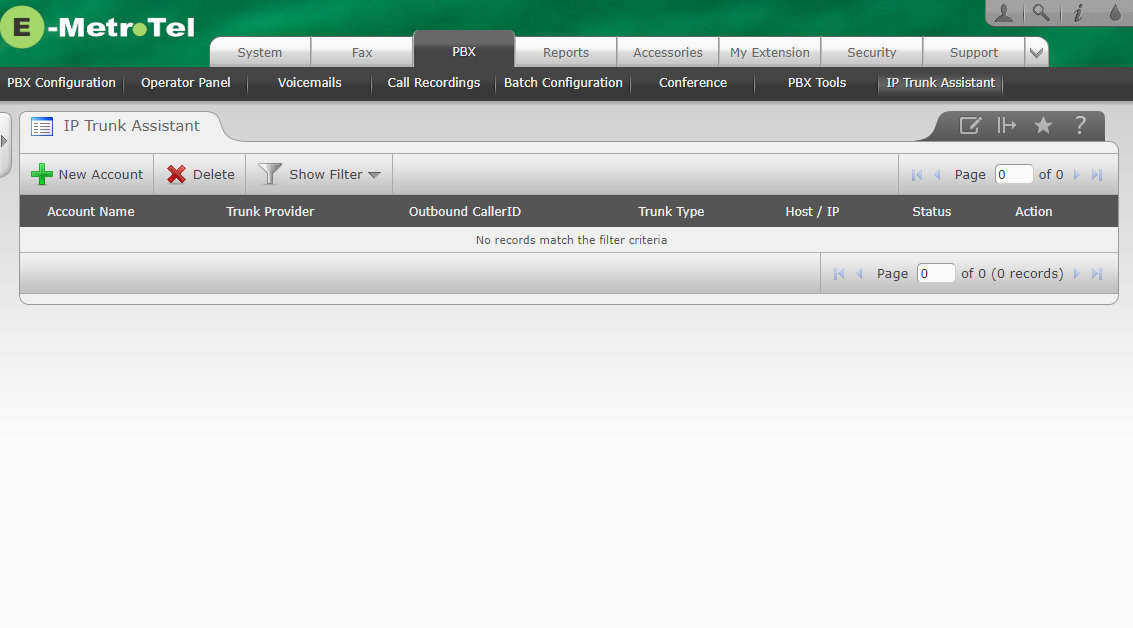
Open the Web-based Configuration Utility and navigate to PBX / IP Trunk Assistant

- Click on New Account
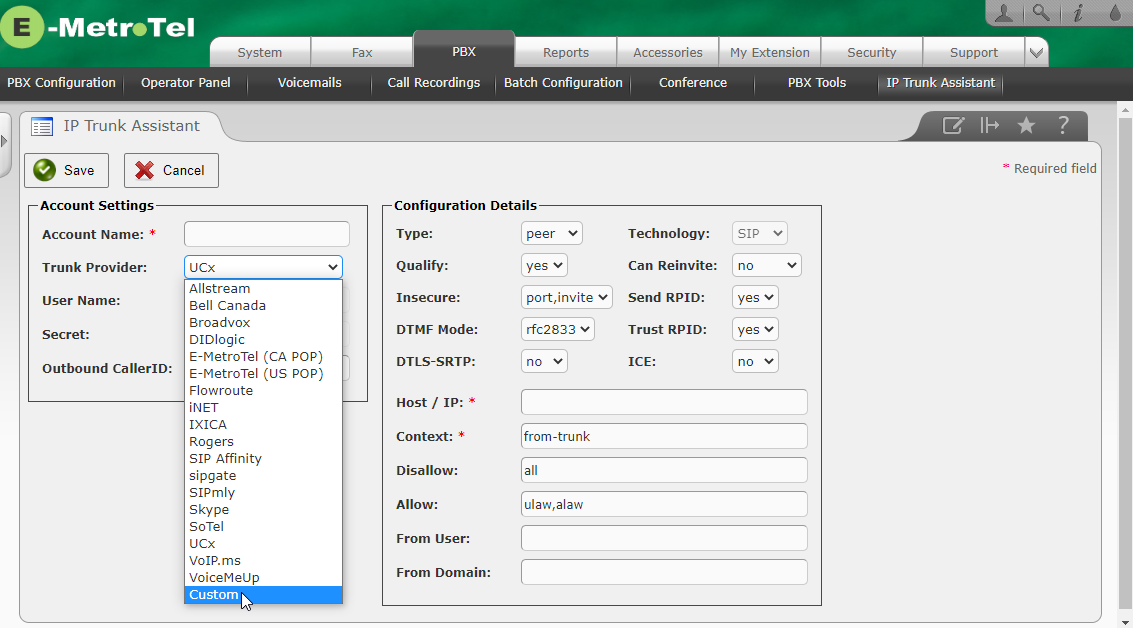
- In the Account Name, create a unique entry for to identify the Shaw SIP trunk on the UCX
-
Select Custom from the Trunk Provider drop-down box

- User Name: use the 10 digit DID provided by Shaw
- Secret: enter the Authentication Password supplied
- Outbound CallerID: enter the 10 digit DID number provided by Shaw preceded by the digit 1 (11 digits total)
-
In the Configuration Details set the following values:
- Type: peer
- Qualify: yes
- Insecure: port,invite
- DTMF Mode: rfc2833
- DTL-SRTP: no
- Technology: SIP
- Can Reinvite: no
- Send RPID: yes
- Trust RPID: yes
- ICE: no
- Host / IP: Enter the SIP trunk server information provided by Shaw
- Context:from-trunk
- Disallow: all
- Allow: ulaw,alaw
- From User: the 10 digit DID provided by Shaw
- From Domain: leave blank
-
The final settings will look similar to the following:

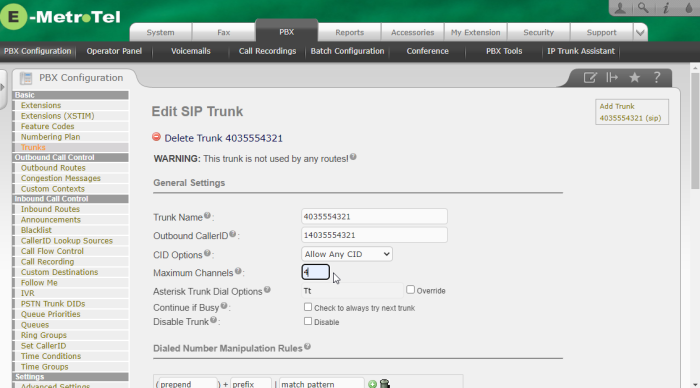
Maximum Channels
You may require adjusting the maximum number of channels supported on the SIP trunk:
-
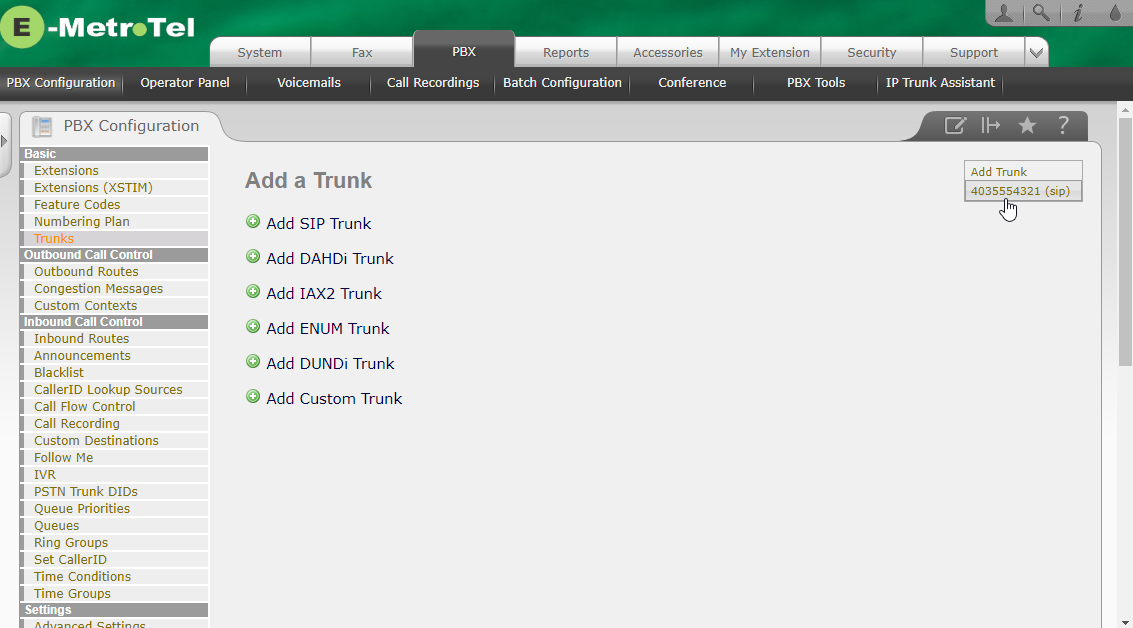
Navigate to the PBX / PBX Configuration / Trunks page and click on the trunk you just created

-
In the Maximum Channels field, enter the number of simultaneous calls allowed on the SIP trunk by Shaw

Page Tags:
Shaw SIP Trunk