

Remote Access
Description
The UCX remote access feature allows support of UCX systems remotely, without requiring opening ports on the customer premises firewall. Access is provided by a centralized OpenVPN server, secured by client certificates on the UCX system as well as the connecting PC. Once you have configured Remote Access on your UCX system, you can leverage the VPN connection to access additional devices that are connected via the same internal LAN environment, such as DSM16 modules or cards.
To use the remote access package, you need to have OpenVPN installed on your PC or Mac computer. Additionally, you need to register the UCX system for remote access.
Please contact E-MetroTel support ([email protected]) to request a user or partner account to access the feature.
User Accounts
User accounts are for your companies' UCX installers and support personnel. They can use these accounts to create PC and Mac certificates, register UCX systems, and login to the remote VPN network.
A user account cannot be used to manage or delete certificates created by another account and/or to de-register or re-register UCX systems registered by another account. Please contact your E-MetroTel partner account holder if you need further access.
Partner Accounts
Partner accounts are assigned to one or more individuals in an E-MetroTel partner company. As with user accounts, partner accounts can create and manage their own PC, Mac, and UCX certificates, and log onto the remote network.
Additionally, partner accounts can be used to manage certificates created by another partner or user account in their own company.
Prerequisites
- You have a Remote Access user or partner account provided by E-MetroTel.
- You have OpenVPN installed on your computer
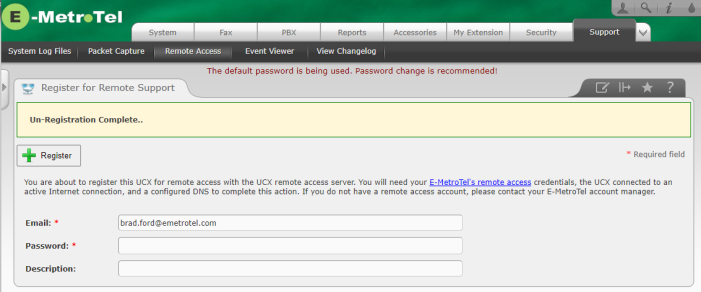
Remote Access Registration
To register your UCX for remote access, perform the following steps:
- Open the UCX Web-based Configuration Utility
-
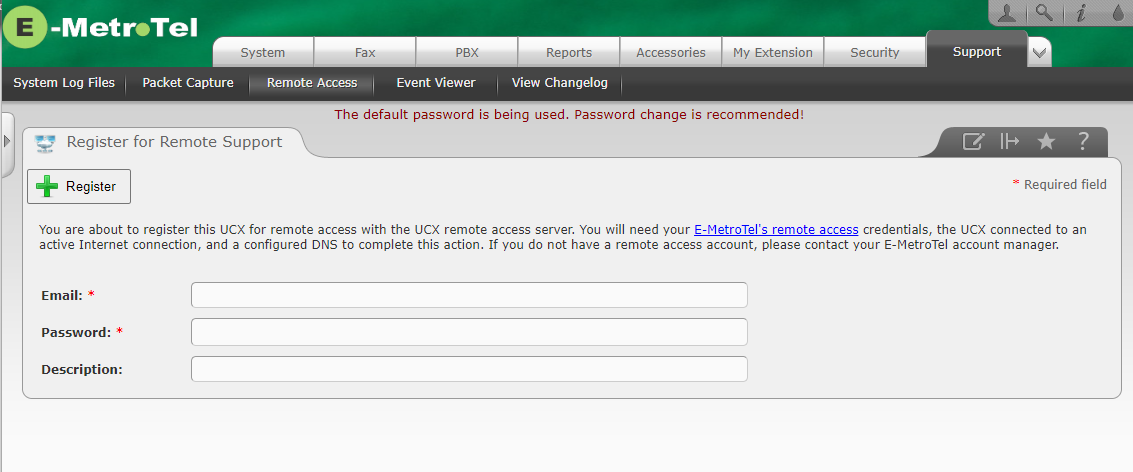
From the Support tab, select Remote Access
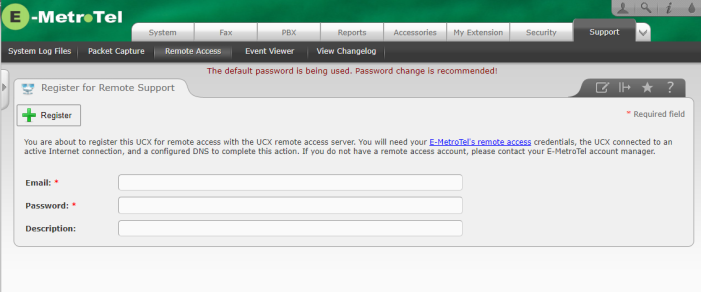
- Enter your remote access account Email and Password
- Provide a Description for the UCX system that you are registering
-
Press the Register button
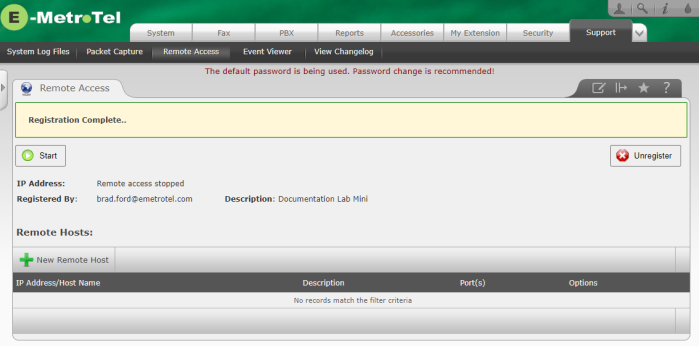
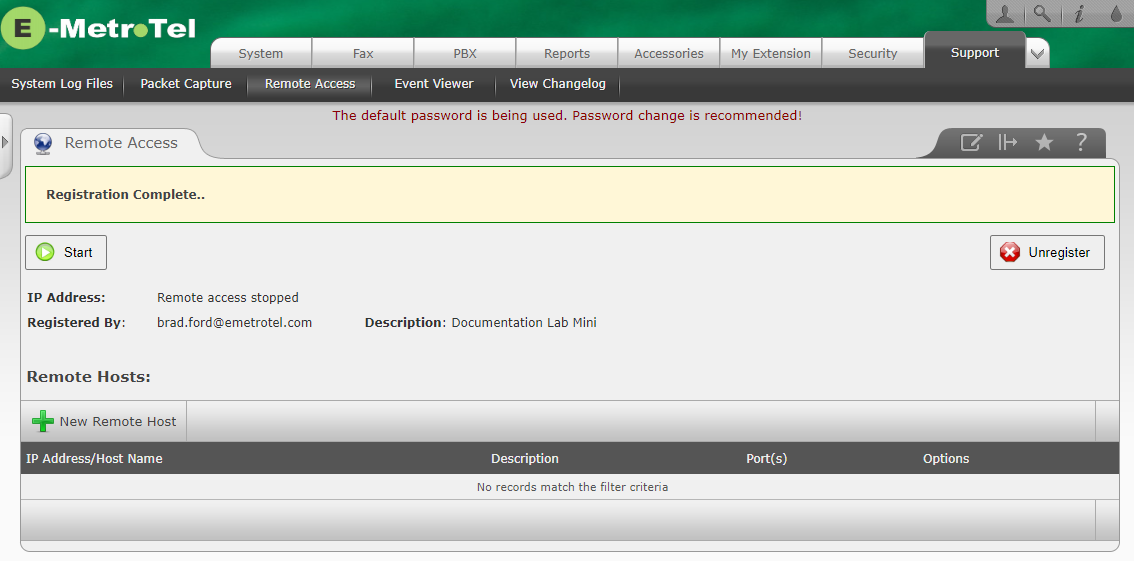
- After registration is complete, remote access is deactivated (stopped) by default
- Proceed to the next section (Feature Activation) to activate remote access
To Un-register your UCX for remote access, perform the following steps:
- Open the UCX Web-based Configuration Utility
-
From the Support tab, select Remote Access
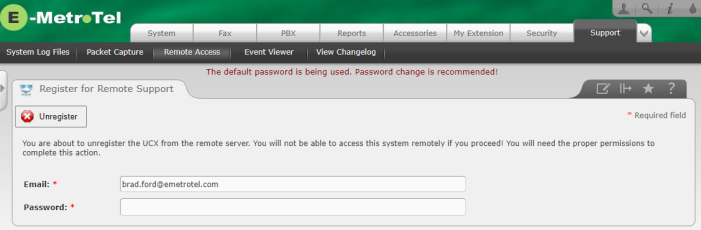
- Enter your remote access account Password
-
Press the Unregister button


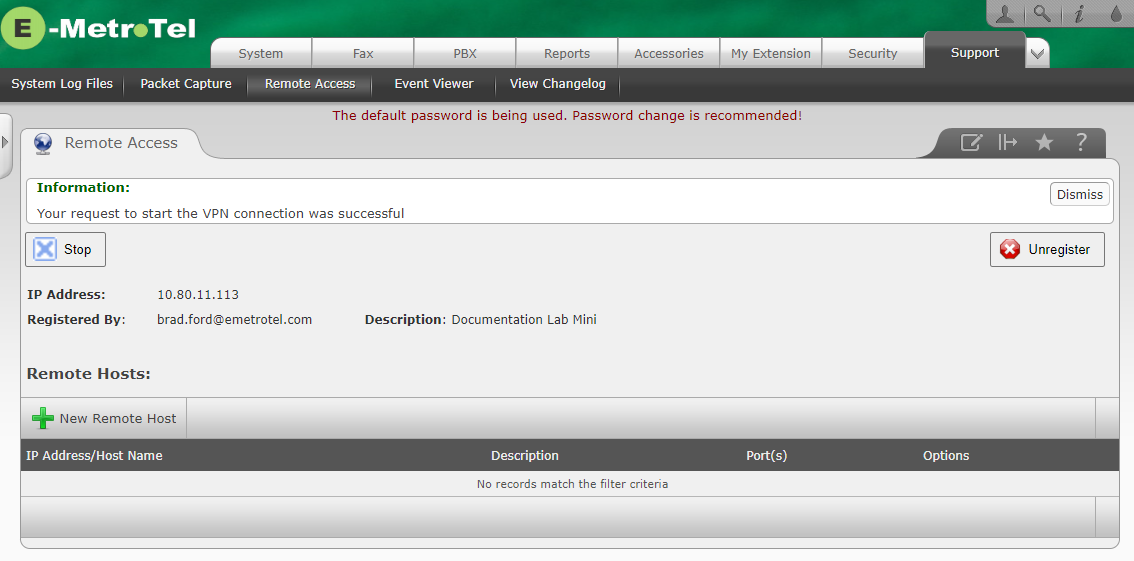
Remote Access Activation
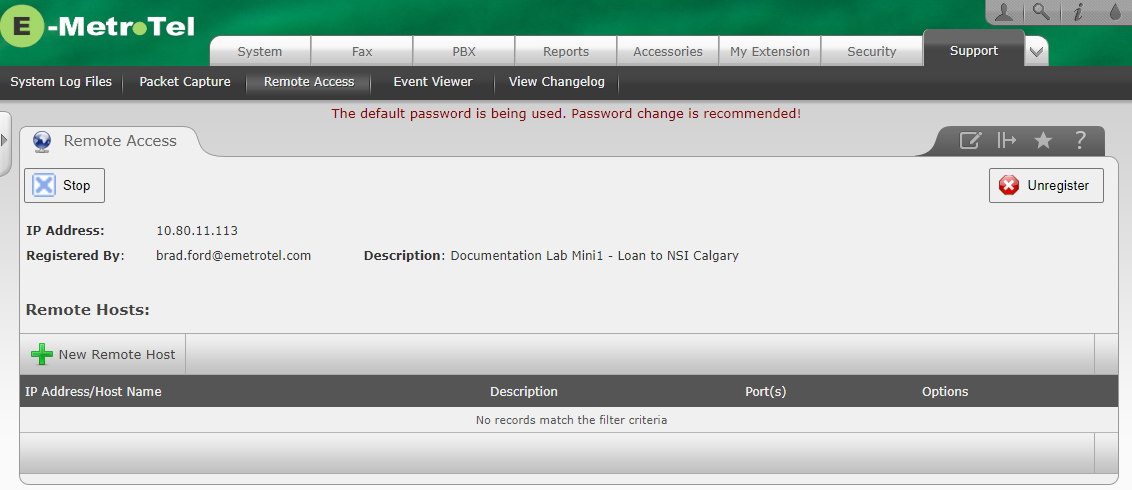
Remote Access page
To start remote access, press the Start button located at the top left corner of the Remote Access page.
When remote access is active, the IP Address field will show the virtual address for this UCX system. Provide this address when requesting support for your UCX system.
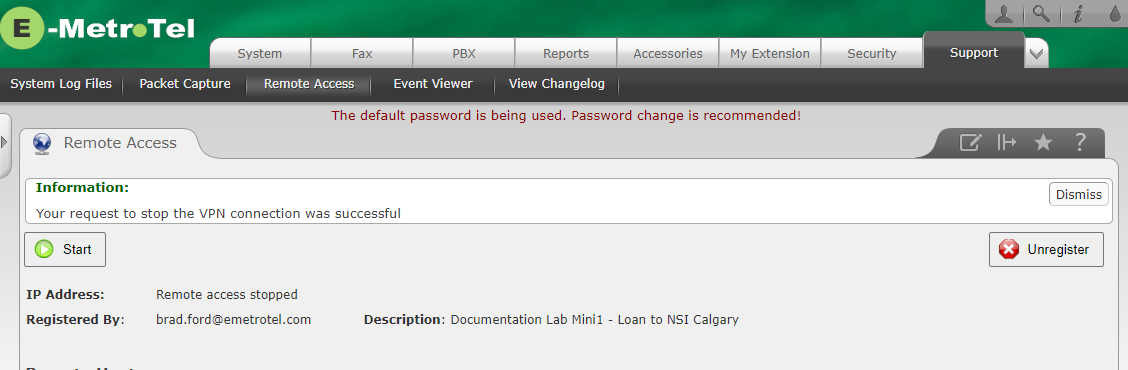
To stop remote access, press the Stop button.
Feature Code
The Remote Support Toggle feature code can be used to Enable or Disable remote access from a phone. The feature code and password is configurable in the Feature Codes page.

Assuming the default values are used:
- From any phone connected to the UCX system, dial the feature code *48
- A message will be played back indicating the status of Remote Support, i.e. Enabled or Disabled
- You will be prompted to enter the Remote Support Password 829 to toggle the status
Add New Remote Host
The Remote Access functionality allows you to connect securely to other devices within the same LAN environment as the UCX system. For example, if you have DSM16 modules or cards connected to the UCX, you can add their IP address as a new remote host, and the UCX will allow you to connect to that device using specific port numbers.
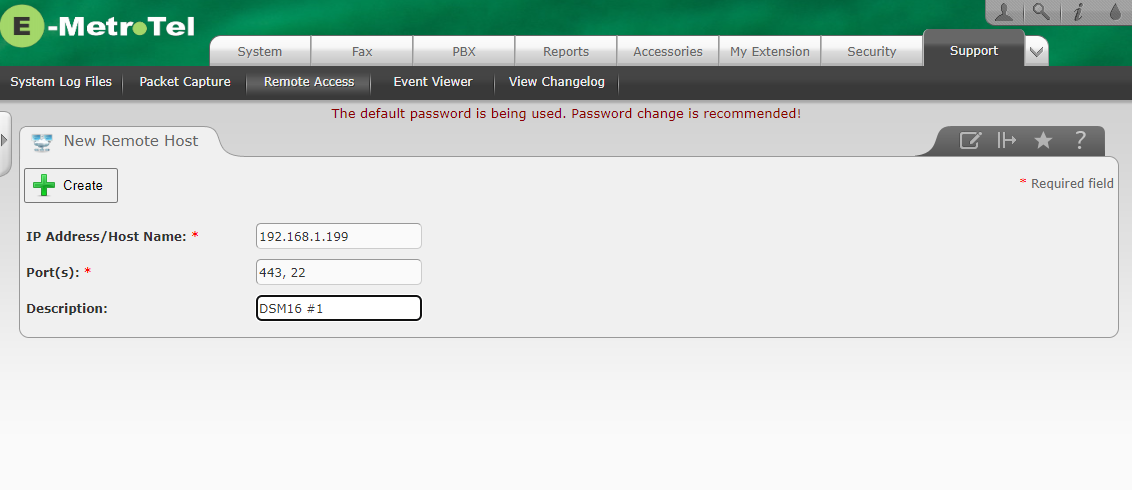
For example, if the IP Address of the DSM16 is 192.168.1.199, you would configure the remote host to support port 443 (for web access) and port 22 (for ssh access) as follows:
-
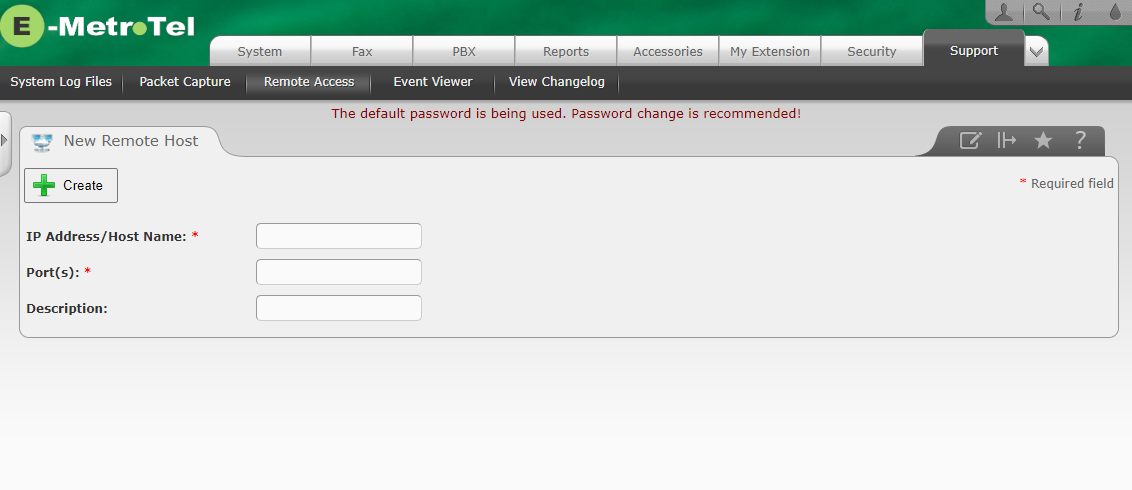
Click on New Remote Host.

-
Enter the IP Address of the device (192.168.1.199), the Port(s) that you will want to use for connections (typically 443 and 22), and a Description (i.e. DSM16 #1). Then click Create.

-
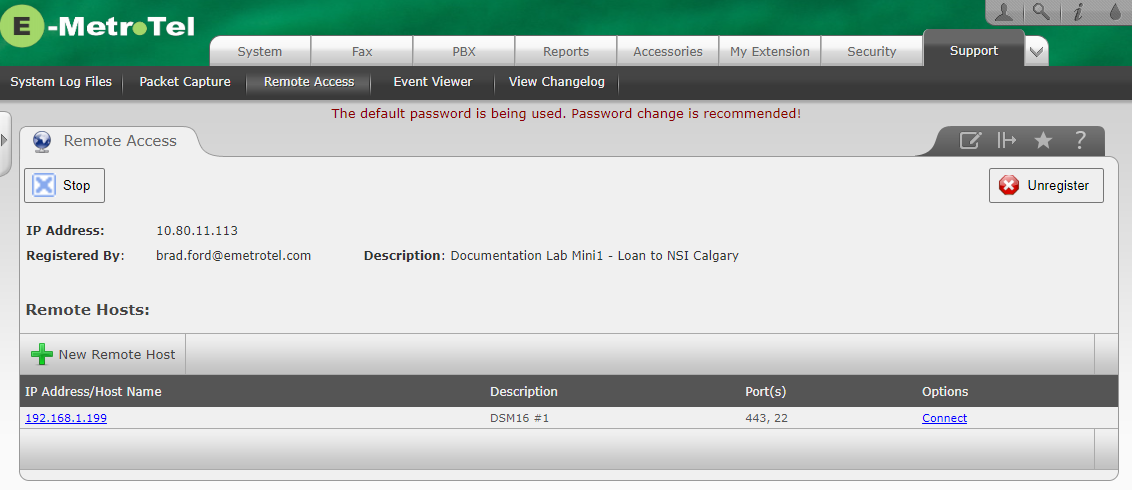
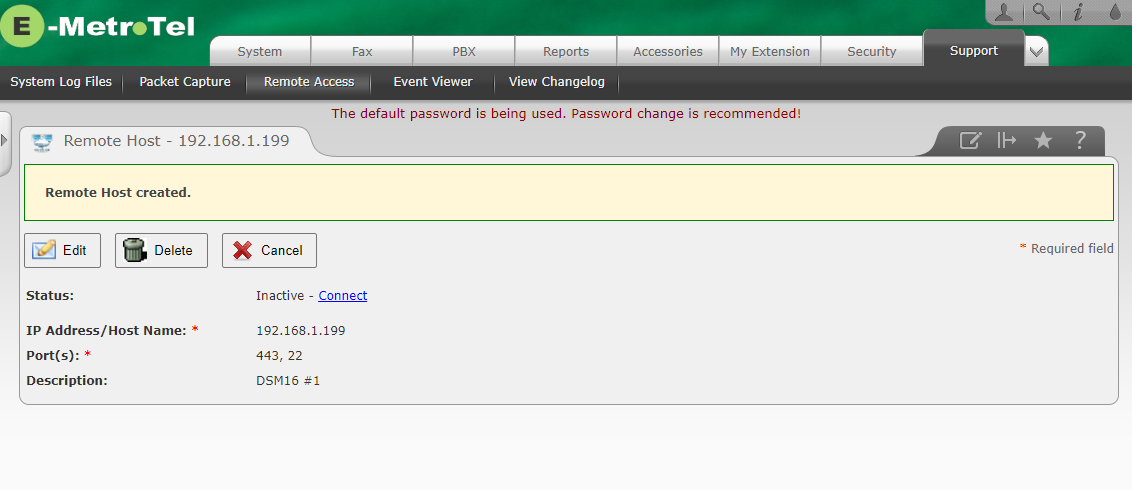
It will now appear in a list along with any additional Remote Hosts you create.
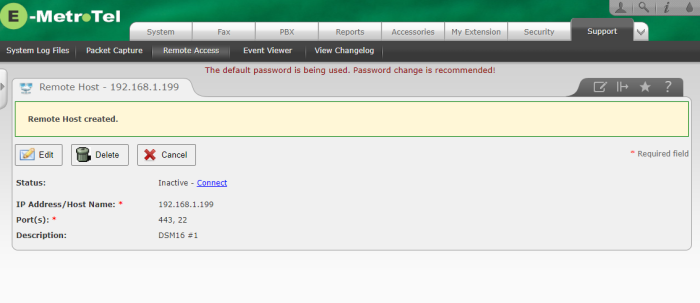
-
Click Cancel to see the list this entry as well as any other Remote Hosts you have created.
Using the Remote Host to Connect to another Device
-
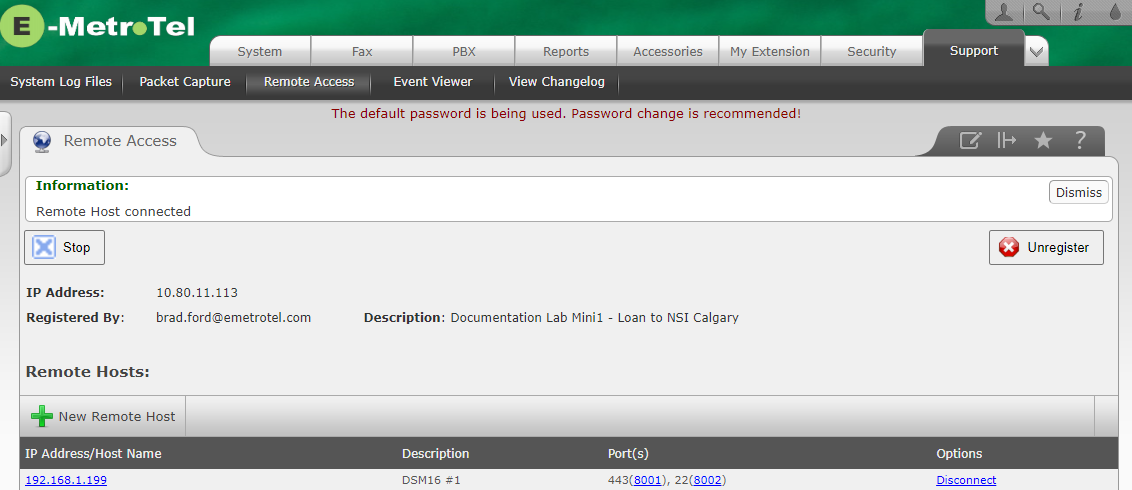
In the Remote Host list, click on Connect in the row corresponding to the device you need to access.
-
Click on the numbered link next to the port number you wish to use to connect. For example, to connect to the Web-based Configuration Manager for the DSM16 #1, press 8001.
-
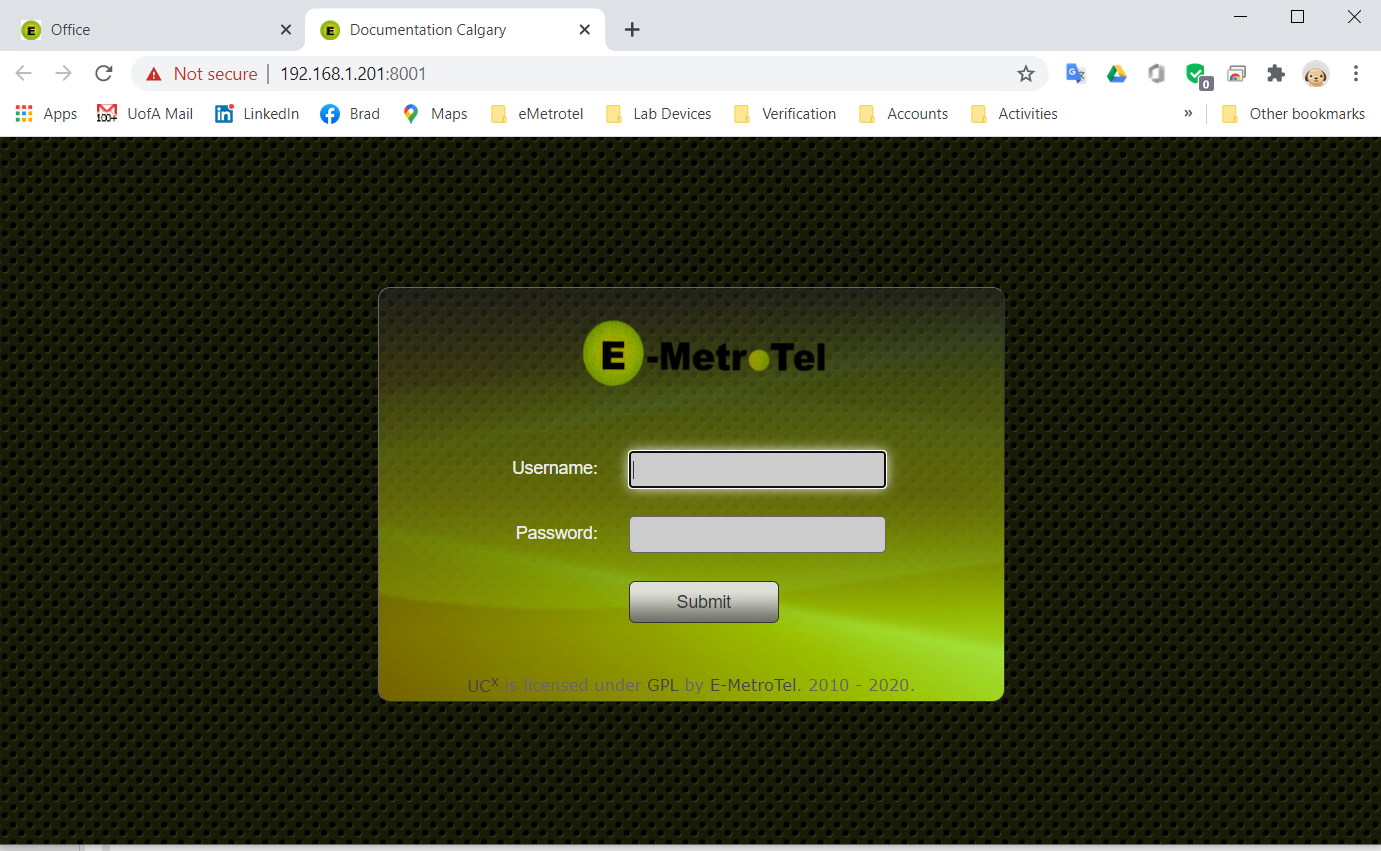
A new tab will appear in your browser, showing the IP address of the UCX and the port number used to connect to the device.
Feature Usage
Self Assessment Quiz
- Can you accurately describe E-MetroTel's Remote Access feature to a customer?
- Do you know the different ways to enable/disable Remote Access?