Web-based Configuration Utility
Connecting to the Web-based Configuration Utility
The following procedures are based on the DSM16p being assigned an IP address of 192.168.1.202.
- In your Internet browser, enter the address of the Digital Station Module (192.168.1.202 in our example).
- If you get a prompt that the website you are trying to access has a problem with its security certificate, select the option to proceed to the website. You may want to install the Digital Station Module security certificates on your PC or add the Digital Station Module system to your browser's permanent exceptions list if you do not want to encounter this warning again (see Create a Self-Signed SSL Certificate for more information).
-
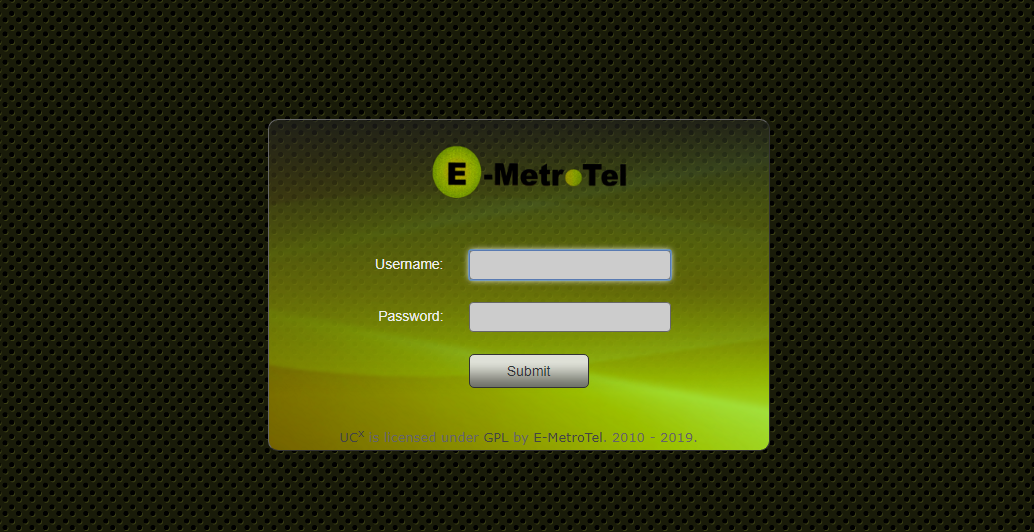
The login page is displayed. Login using the default credentials:
- Username = admin
-
Password = emetr0tel (please note that the ‘0’ is a numeric zero)
If you already changed the administrator's password, use your password instead of the default.
Logging into the DSM16p for the First Time
The first time you log in to the DSM16, you will be prompted to change the password using the System / Users page and that the phone services are disabled because of an invalid license.
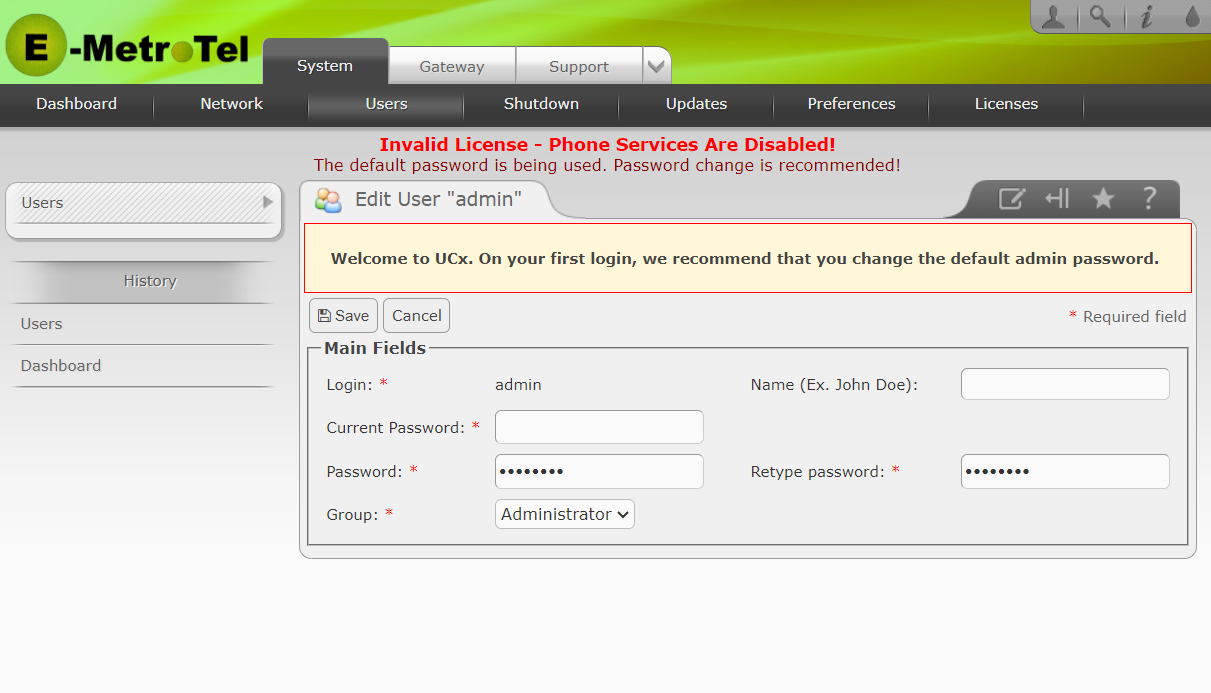
1. Change the Password
It is advisable to change this password to prevent unauthorized access. Re-enter the Current Password (i.e. the default password), and enter your new password into the Password and Retype Password fields. Click the Save button to exit.
The DSM16p does not enforce any password policies, so it is possible (although not recommended) to click the Cancel button to continue configuring the DSM16p. If the password is not changed, the DSM16p will display a prompt in the Web-Based Configuration Utility reminding you that the default password is still in use.
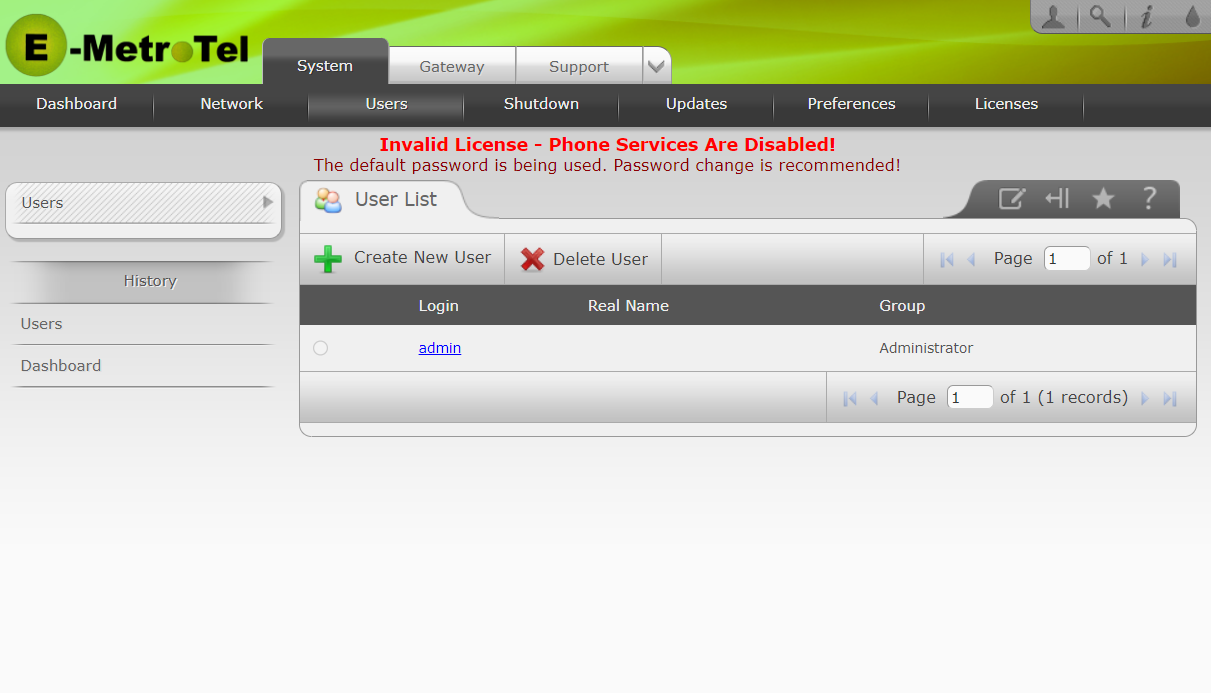
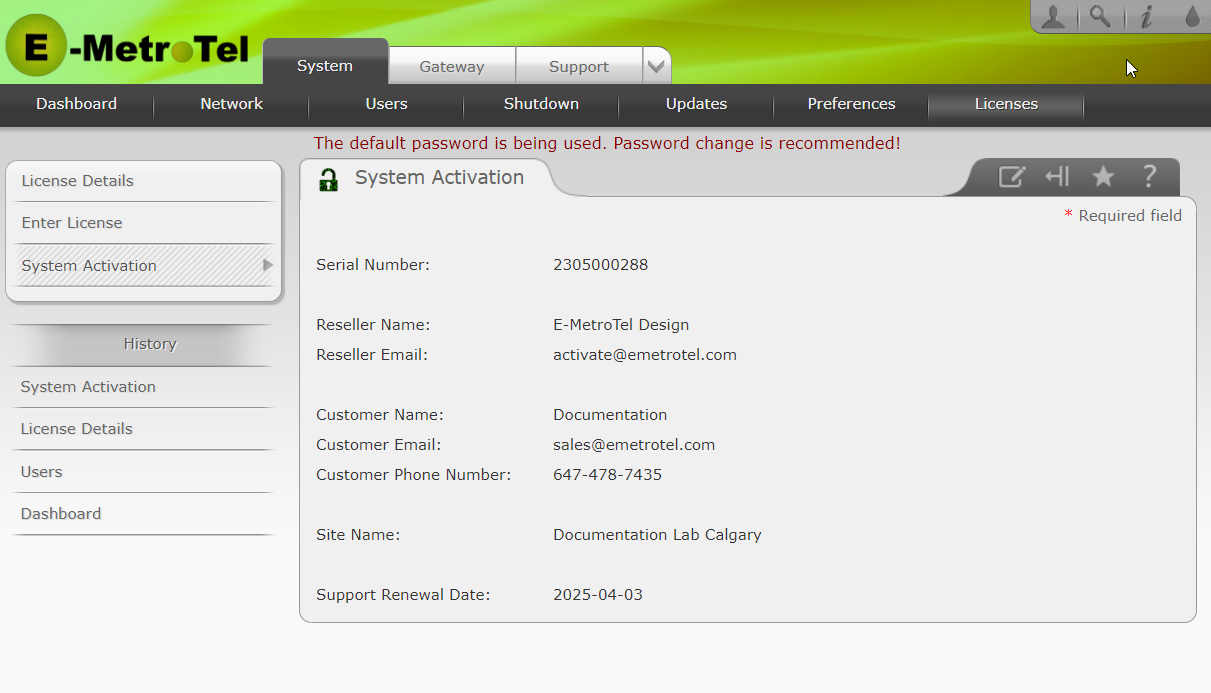
2. Activate the Card
In order to begin using any of the telephony services to support connecting digital telephones to the UCX, you will need to activate the card. Follow the steps identified in Licenses to activate the card. Doing so will remove the Invalid License warning.After activation, the Invalid License screen banner will be removed, but the Default Password warning will remain if the default password is still in use.
Security Considerations
Once the DSM16 has been configured, there typically is very little need to access the Web-based Configuration Utility on a regular basis. To reduce the security exposure of some of the software components in the DSM16 operating system, it is possible to disable the Web-based Configuration Utility from the command line, stopping the Apache, PHP and OpenSSL software components (and others) from being exposed.
While the Web-based Configuration Utility is disabled no changes to the system configuration can be made. However, automatic software updates will continue to execute based on the configured schedule. In order to make subsequent configuration changes the Web-based Configuration Utility must be re-enabled.
Disabling the Web-based Configuration Utility
To disable the Web-based Configuration Utility:
- Open an SSH (Secure Shell) session with the DSM16 using an SSH client such as PuTTY.
- Login to the command line interface using the admin login credentials.
-
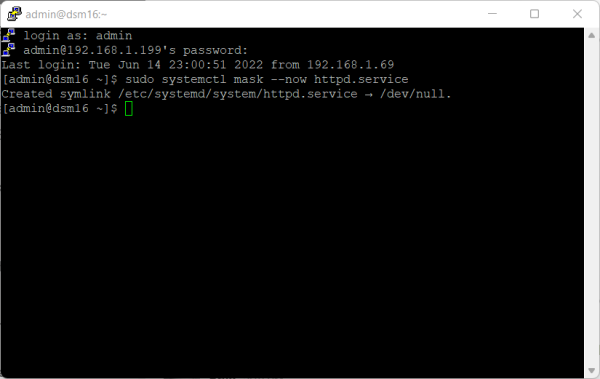
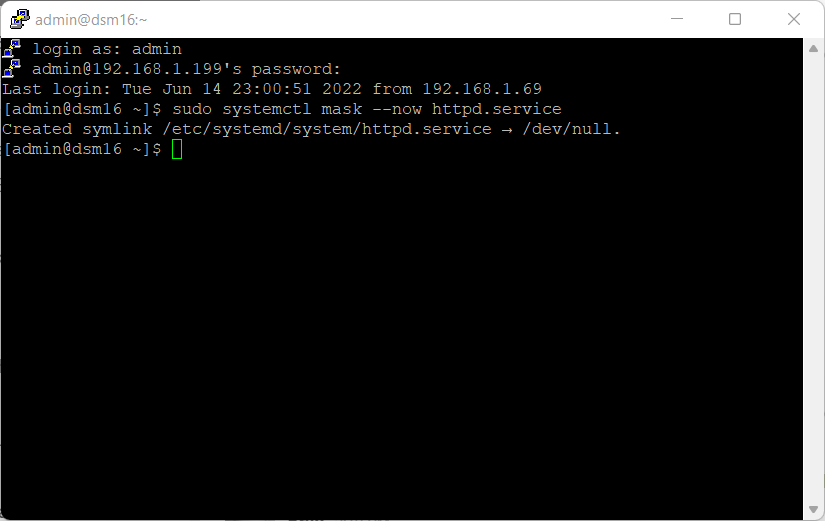
Enter the following command to disable the Web-based Configuration Utility:
sudo systemctl mask --now httpd.service -
Once the command has executed you will see the following response:
-
If you see a response indicating that 'systemctl daemon-reload' should be executed, the admin user should run the command:
sudo systemctl daemon-reload - Verify that the Web-based Configuration Utility is no longer accessible by attempting to connect via your browser.
Enabling the Web-based Configuration Utility
To enable the Web-based Configuration Utility:
- Open an SSH (Secure Shell) session with the DSM16 using an SSH client such as PuTTY.
- Login to the command line interface using the admin login credentials.
-
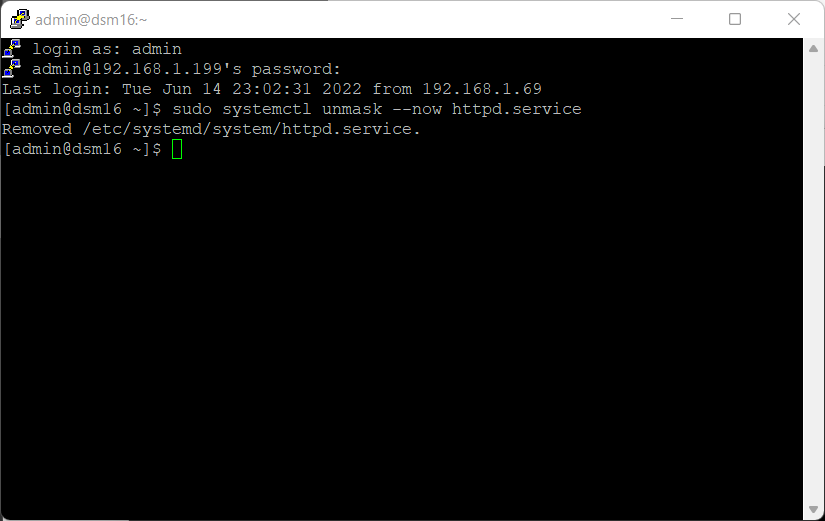
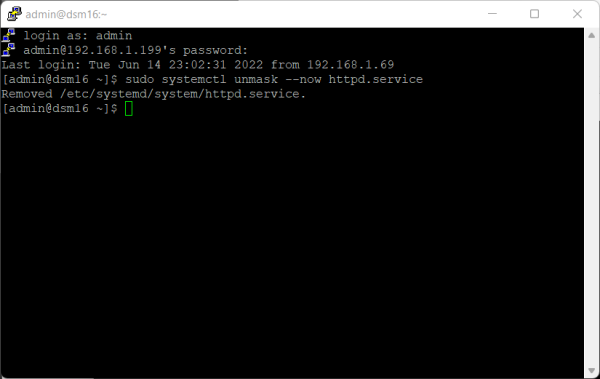
Enter the following command to enable the Web-based Configuration Utility:
sudo systemctl unmask --now httpd.service-
Once the command has executed you will see the following response:
-
Once the command has executed you will see the following response:
- Verify that the Web-based Configuration Utility is now accessible by attempting to connect via your browser.